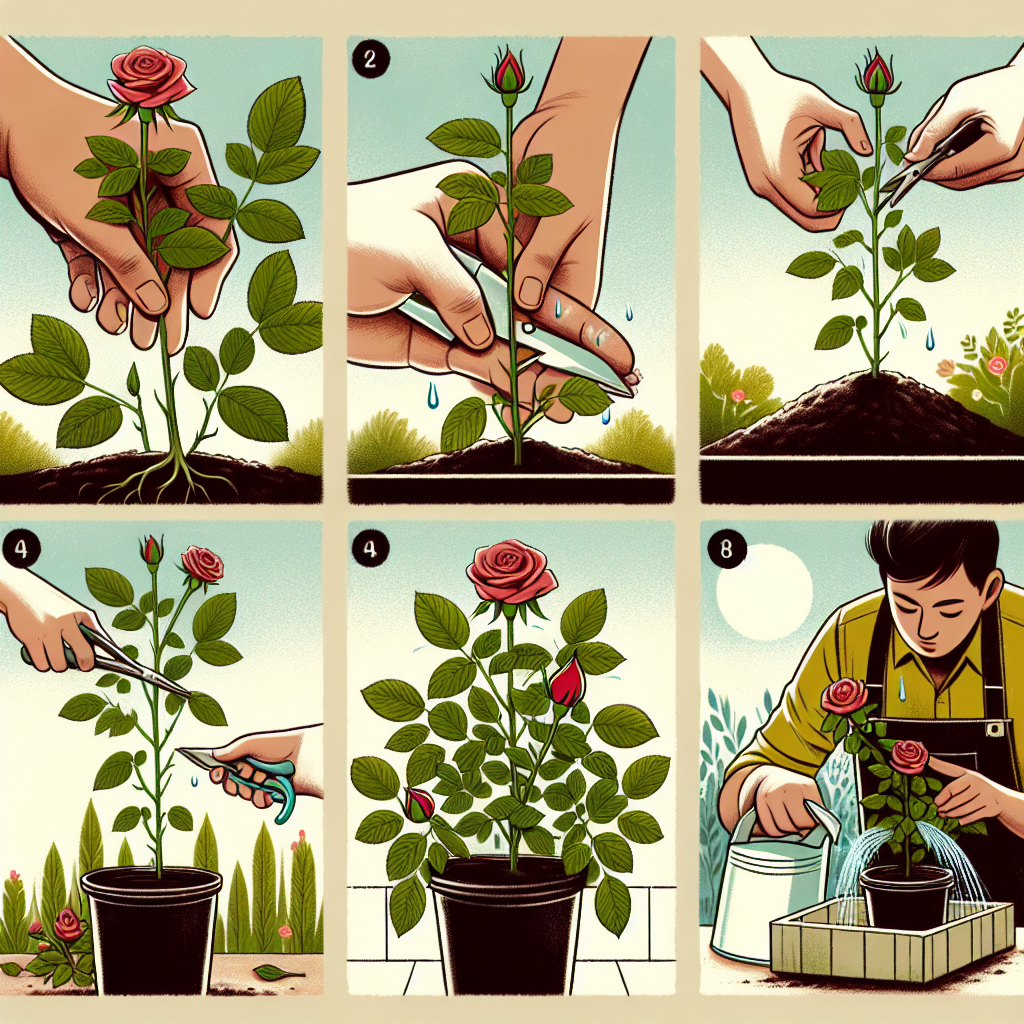
How do you grow roses from cuttings
How to Successfully Grow Roses from Cuttings
Growing roses can be an incredibly rewarding endeavor, especially when you can propagate them from cuttings. Not only is this method cost-effective, but it also allows you to replicate your favorite varieties. Here, we will guide you through the process of growing roses from cuttings, providing tips, techniques, and essential information to make this venture a success.
Understanding the Basics of Rose Propagation
Before diving into the actual process, it’s important to understand why **cuttings** are a popular propagation method. Roses can be grown from seeds, but that method often takes much longer and may not yield true-to-parent plants. Cuttings ensure that the new plants share the same characteristics as the original rose bush.
The Best Time to Take Cuttings
The optimal time for taking rose cuttings is during the plant's active growing season, which typically occurs in late spring to early summer. The weather should be warm, but not excessively hot, as this can stress the cuttings and hinder their ability to root.
Choosing the Right Tools and Materials
To successfully grow roses from cuttings, having the right tools and materials at your disposal is crucial. Here’s a quick checklist:
- Sharp, clean pruning shears
- Rooting hormone (optional but recommended)
- Small pots or trays filled with a suitable planting medium (like perlite or peat)
- Plastic wraps or bags to create humidity
- A spray bottle for watering
Step-by-Step Guide to Taking Rose Cuttings
Follow these steps to gather and prepare your rose cuttings:
- Choose the Right Stem: Select a healthy rose bush and find a stem that is semi-hardwood, ideally one that has bloomed recently.
- Make the Cut: Using your clean pruning shears, cut a 6-8 inch section of the stem just below a leaf node. Ensure your cut is at a 45-degree angle for better surface area.
- Remove Lower Leaves: Strip the leaves from the bottom half of the cutting to prevent rot when planted. Leave a couple of leaves at the top.
- Apply Rooting Hormone: Dip the cut end into rooting hormone, if using. This will help stimulate root growth.
- Plant the Cutting: Insert the cut end of the stem into your prepared potting medium. Make a hole with a pencil or your finger to avoid damaging the cutting.
- Water Gently: Spray the cutting lightly with water to settle the soil.
- Create a Humid Environment: Cover the pot with plastic wrap or a plastic bag to maintain humidity, which is critical for root development.
Care and Maintenance of Rose Cuttings
Once your cuttings are planted, they will need proper care to thrive. Here are some tips:
- Lighting: Place the cuttings in a bright location but avoid direct sunlight, which can scorch them.
- Watering: Keep the soil moist but not drenched. Use the spray bottle to maintain humidity without overwatering.
- Temperature: The ideal temperature for rooting is between 70-75°F (21-24°C).
“Patience is key; it can take several weeks for rose cuttings to develop roots.”
Transplanting Your Rose Cuttings
Once your cuttings have established a healthy root system, typically within 4-8 weeks, it’s time to transplant them. Signs that your cuttings are ready include new growth and roots that have begun to emerge from the drainage holes of the pot.
How to Transplant Your Roses
- Select a Location: Choose a well-draining area with full sun. Roses thrive in rich, loamy soil.
- Prepare the Soil: Loosen the soil at the transplant site and mix in organic matter, such as compost, to enrich it.
- Make the Hole: Dig a hole that is about the same depth as the root ball of your cutting.
- Place the Cutting: Carefully remove the cutting from its container, being cautious not to damage the roots. Place it in the hole.
- Fill and Water: Fill in the hole with soil, pressing it down gently. Water thoroughly to remove any air pockets.
Ongoing Care for Transplanted Roses
After transplanting, continue to care for your roses to ensure they thrive:
- Mulching: Apply a layer of mulch around the base of the plant to retain moisture and suppress weeds.
- Fertilization: Fertilize regularly with a balanced rose fertilizer, following the manufacturer’s instructions.
- Pruning: Prune your roses yearly to promote airflow and remove dead or diseased wood.
Common Issues When Growing Roses from Cuttings
While growing roses from cuttings is relatively straightforward, there are potential issues to be aware of:
Pest and Disease Control
Sometimes, pests like aphids or diseases like powdery mildew may affect your cuttings or newly transplanted roses. Here’s how to mitigate these risks:
- Utilize insecticidal soap or neem oil to manage pest infestations.
- Ensure good airflow around the plants to prevent mildew development.
- Inspect your plants regularly for signs of distress or damage.
Environmental Factors
Factors such as extreme weather can impact your rose cuttings. Here are some best practices:
- During hot summer days, provide temporary shade to prevent wilting.
- In late fall, be mindful of cold temperatures that can damage young plants.
- Consider bringing young cuttings indoors if frost is expected.
Conclusion
Growing roses from cuttings can be a fulfilling experience that allows you to cultivate beautiful blooms without significant investment. By following the steps outlined above and being mindful of the care your cuttings need, you will be well on your way to enjoying your roses for years to come.
Whether you’re starting a new garden or adding to your existing collection, remember that patience is essential. Over time, you’ll find that your efforts yield stunning flowers that will be a source of pride and joy.
By Guest, Published on October 21st, 2024