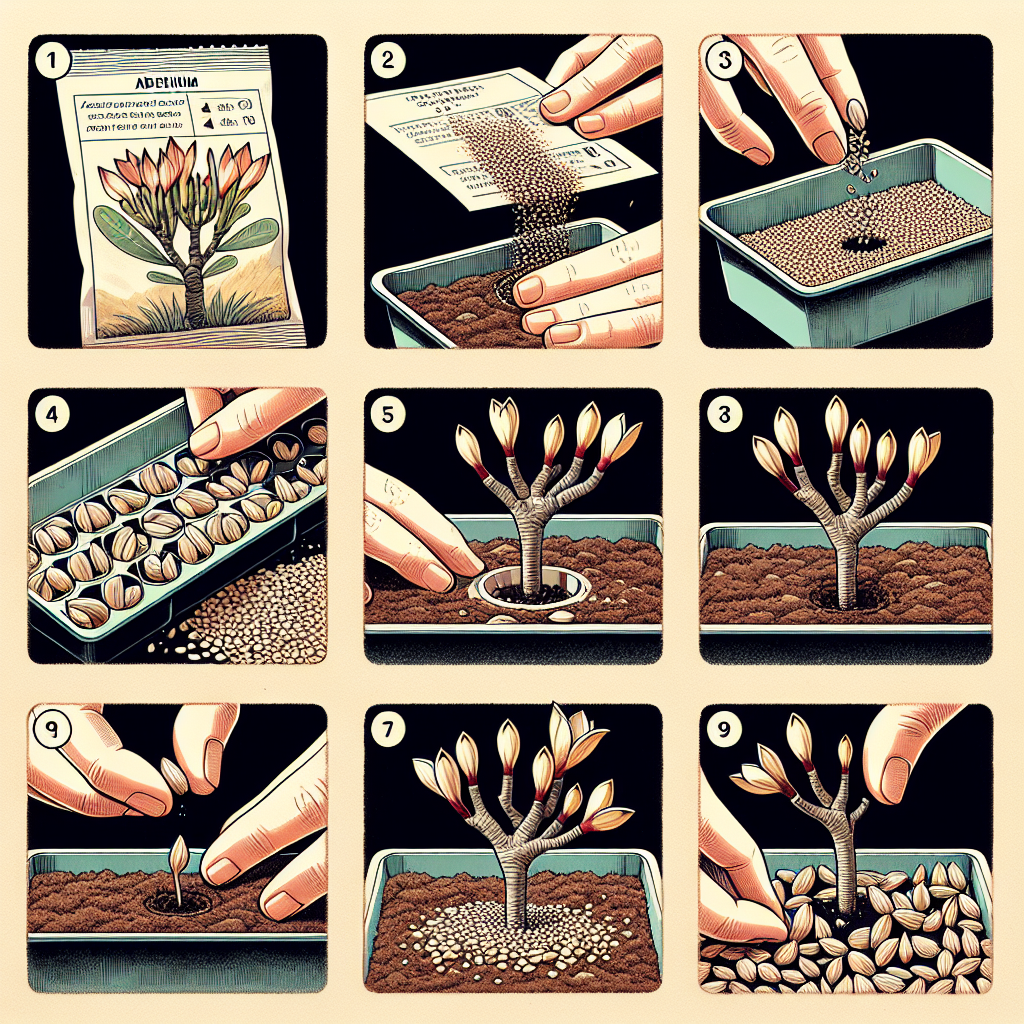
How to grow adenium from seed
Understanding Adenium: The Desert Rose
Adenium, popularly known as the Desert Rose, is an extraordinary plant native to the Arabian Peninsula and parts of Africa. Renowned for its stunning flowers and robust trunk, this succulent has gained popularity among home gardeners and succulent enthusiasts alike. While many prefer to propagate adenium through cuttings, growing it from seeds presents a rewarding challenge that allows for greater genetic diversity and unique flower variations. In this article, we'll delve into the intricacies of how to grow adenium from seed, taking you step-by-step through the process.
The Benefits of Growing Adenium from Seeds
Before we jump into the practical aspects, it’s important to understand why you might want to choose seed propagation over cutting propagation. Here are some significant benefits:
- Genetic Diversity: Growing from seeds allows for a wider variety of genetic characteristics, paving the way for unique flower shapes and colors.
- Stronger Plants: Seedlings often adapt better to their environments than cloned plants, which can lead to healthier growth.
- Cost-Effective: Seeds can be more economical, especially if you wish to cultivate multiple plants.
Choosing the Right Seeds
When embarking on your journey of how to grow adenium from seed, selecting high-quality seeds is paramount. Here’s what to look for:
- Source: Purchase from reputable nurseries or online sources to ensure seed viability.
- Variety: Decide if you're looking for specific colors or traits—there are numerous adenium hybrids available.
- Freshness: Check the harvest date; fresher seeds tend to germinate better.
Essential Materials
Before you start planting your adenium seeds, gather the following materials:
- Adenium seeds
- Seed-starting mix
- Seed trays or small pots
- Plastic wrap or a humidity dome
- Watering can or mist spray bottle
- Grow lights (optional)
Step-by-Step Guide on How to Grow Adenium from Seed
1. Prepare the Seed-Starting Mix
The right soil mix is crucial for successful germination. Use a well-draining, lightweight soil mix. You can create your own by mixing:
- 1 part potting soil
- 1 part perlite or sand
- 1 part coconut coir or peat moss
Mix these components thoroughly and fill your seed trays or pots with the mixture, leaving a small gap at the top.
2. Soak the Seeds
Adenium seeds have a hard outer shell, so soaking them before planting can help break dormancy and improve germination rates. Follow these steps:
- Place the seeds in a bowl of water.
- Let them soak for 24 to 48 hours.
3. Planting the Seeds
After soaking, it's time to plant the seeds:
- Make small indentations in the seed-starting mix, about 1 inch apart.
- Place one seed in each indentation and cover it lightly with soil.
- Ensure that the seeds are not buried too deep, as this can hinder germination.
4. Create a Humid Environment
Seeds require a warm and humid environment to germinate effectively. To achieve this, follow these steps:
- Cover the trays with plastic wrap or a humidity dome.
- Place the trays in a warm location where the temperature is maintained between 70°F and 85°F (21°C - 29°C).
5. Watering the Seeds
Maintaining adequate moisture levels is vital during germination. Use a mist spray bottle to water the seeds gently. Avoid over-watering, as this can lead to rot.
6. Providing Light
Once the seeds germinate, which can take anywhere from a week to several weeks, remove the plastic cover. At this stage:
- Provide them with bright, indirect sunlight. A south-facing window is ideal.
- If natural sunlight is insufficient, consider using grow lights to supplement their light needs.
7. Thin the Seedlings
As seedlings begin to grow, you may notice that some are more robust than others. To ensure that they have enough space and resources to thrive:
- Thin out the weaker seedlings, leaving only the strongest ones in each pot.
- Be careful not to disturb the roots of the remaining seedlings.
Transplanting Young Adenium Plants
Once your adenium seedlings are about 3 to 4 inches tall, they are ready to be transplanted into larger pots. Follow these steps:
- Prepare pots that are at least 4-6 inches in diameter filled with cactus or succulent potting mix.
- Gently remove the seedlings, ensuring that you disturb their roots as little as possible.
- Plant the seedlings in their new pots, watering them thoroughly after planting but avoiding waterlogging.
Caring for Your Adenium Plants
Once transplanted, adenium plants require proper care to flourish. Here are useful tips:
Watering
Adeniums thrive in well-draining soil, making it essential to check the soil moisture before watering. Allow the top inch of the soil to dry out between waterings.
Fertilizing
Fertilization can boost growth, especially during the growing season (spring and summer). Use a balanced, diluted, water-soluble fertilizer once a month.
Light Requirements
Adeniums prefer full sunlight. Ensure they receive at least 6 hours of direct sunlight daily for optimal growth.
Pest Management
Be vigilant against pests such as aphids and whiteflies. Regularly check your plants, and if you notice any infestations, treat them promptly with insecticidal soap.
Final Thoughts
Successfully learning how to grow adenium from seed can be highly satisfying, providing you with vibrant plants to beautify your space. Whether you're looking to enrich your garden or gift a beautiful flower, growing adeniums from seeds is a delightful undertaking. Stay patient and attentive to your plants' needs, and soon you'll be rewarded with stunning blooms that are sure to impress. Happy gardening!
By Guest, Published on October 3rd, 2024