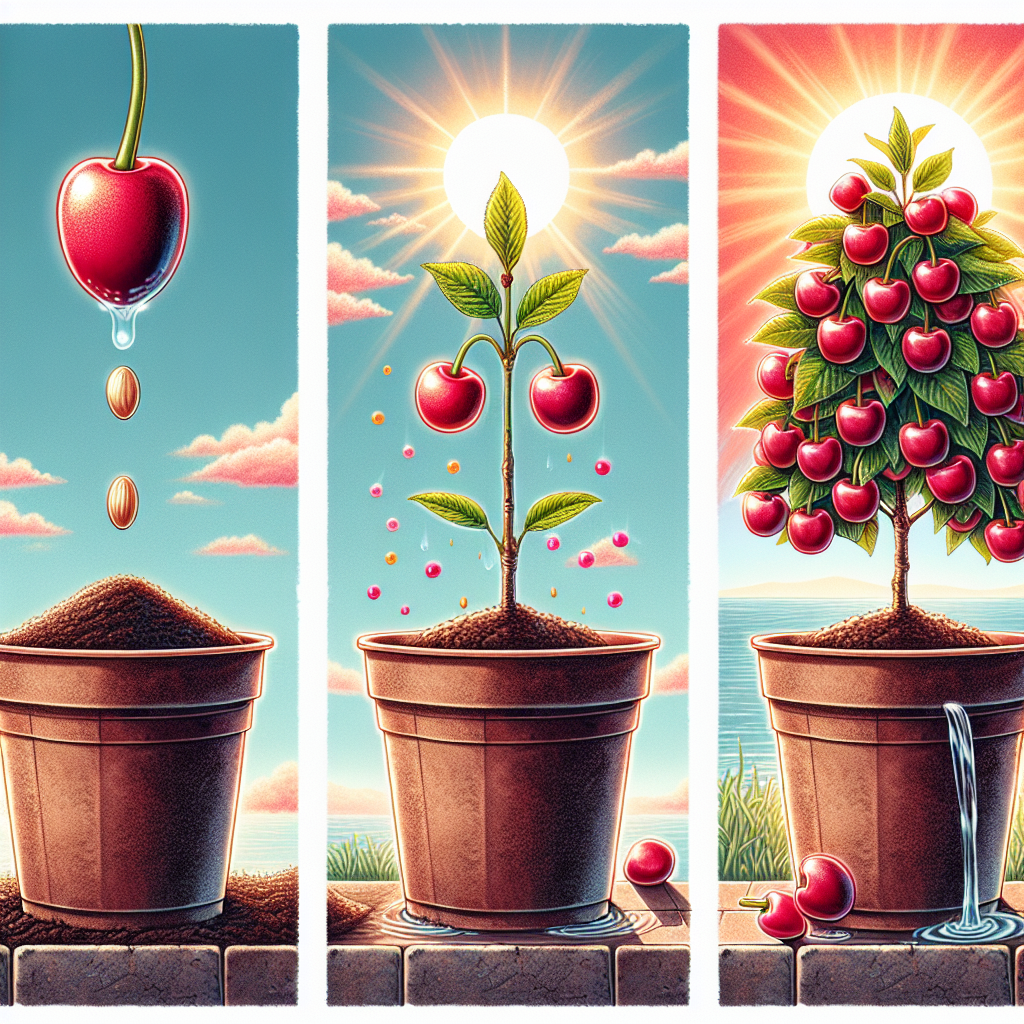
How to grow cherry tree from seed
How to Grow a Cherry Tree from Seed: A Step-by-Step Guide
Growing your own cherry tree from seed can be a rewarding and fulfilling project. Not only do you get to enjoy the beauty of the tree as it matures, but you also get to harvest your very own cherries once the tree bears fruit. This guide will walk you through the entire process of how to grow a cherry tree from seed, from choosing the right seeds to caring for your young sapling.
Understanding Cherry Trees
Cherry trees belong to the genus *Prunus*, which includes several species that produce fruits widely enjoyed by people around the world. The two main categories of cherry trees are sweet cherries (*Prunus avium*) and sour cherries (*Prunus cerasus*). Understanding the differences between these types is crucial for selecting seeds that best fit your growing environment and taste preference.
Choosing the Right Seeds
When considering how to grow a cherry tree from seed, the first step is to source your seeds. Here are some tips for selecting the best seeds for your project:
- Purchase Quality Seeds: Look for reputable gardening stores or online suppliers that offer cherry seeds. Avoid generic seeds as they might not yield reliable results.
- Consider Local Varieties: If possible, choose seeds from local varieties of cherry trees that are adapted to your climate.
- Harvest Seeds from Fruit: You can also extract seeds from ripe cherries yourself. Make sure to ferment the seeds before planting for best results.
Preparing Cherry Seeds for Planting
After obtaining your cherry seeds, the next essential step is preparation. Cherry seeds require a process known as "stratification" to germinate effectively.
Stratification Process
Stratification mimics the natural conditions that seeds need to break dormancy. Here's how to stratify your cherry seeds:
- Cleaning: Remove the seeds from the fruit and rinse them thoroughly to get rid of any pulp.
- Drying: Allow the seeds to dry for a few hours before proceeding.
- Moistening: Place the seeds in a damp paper towel, then fold it up.
- Refrigeration: Place the towel with the seeds in a plastic bag and put it in the refrigerator. Leave it there for about 30 to 60 days.
Be sure to check periodically to ensure the seeds remain damp, but not wet. This method simulates winter conditions, which is essential for germination.
Planting Your Cherry Seeds
Once you’ve completed the stratification process, it’s time to plant your seeds. Follow these steps for successful planting:
Choosing the Right Location
Cherry trees require a sunny spot with well-drained soil. A pH of 6.0 to 6.8 is ideal. Make sure the location has enough space for your future tree to grow.
Planting Steps
- Preparing the Soil: Loosen the soil in your chosen location and mix in compost to add nutrients.
- Planting the Seeds: Plant each seed about 1 inch deep. If you're planting multiple seeds, space them at least 3 inches apart.
- Watering: After planting, water the area thoroughly but avoid waterlogging.
Caring for Young Cherry Trees
Now that your seeds are planted, providing proper care is crucial for the success of your young cherry trees. Here are some essential care tips:
- Watering: Keep the soil consistently moist, especially during the first growing season. However, be careful not to overwater, as cherry trees do not like soggy roots.
- Weeding: Regularly check for weeds in the vicinity of your saplings, as they can compete for nutrients and water.
- Fertilizing: Use a balanced fertilizer during the growing season to promote healthy growth. Follow the recommended guidelines for application.
- Pruning: As your tree grows, prune it to encourage a strong structure and remove any dead or diseased branches.
Pest and Disease Management
Cherry trees can be susceptible to various pests and diseases. Here are ways to manage these issues:
- Regular Inspections: Check your trees regularly for signs of pests such as aphids or caterpillars.
- Organic Solutions: Consider using natural insecticides like neem oil if you encounter infestations.
- Fungal Prevention: To prevent diseases like powdery mildew, ensure good air circulation around the tree.
Transplanting Your Cherry Tree
Once your cherry tree reaches about 1 to 2 feet in height and has established a strong root system, it’s time to consider transplanting it to its permanent location. Here’s how to do it:
When to Transplant
It’s best to transplant cherry trees during early spring before new growth begins. This timing minimizes shock and promotes healthy growth.
Transplanting Steps
- Prepare the New Location: Choose a sunny spot with well-draining soil, similar to where you initially planted the seed.
- Digging: Carefully dig up your tree, ensuring you get as much of the root system as possible.
- Planting: Place the young tree in the new hole, making sure it's at the same depth as it was in its original location.
- Water: Water the tree thoroughly after transplanting, and add a layer of mulch to conserve moisture.
Patience Pays Off
Growing a cherry tree from seed is not a quick process. It can take several years before your tree starts producing fruit. However, with patience and proper care, you can enjoy beautiful blossoms and delicious cherries in the years to come.
Conclusion
In summary, understanding how to grow a cherry tree from seed requires attention to detail and commitment to properly nurturing the young plant. From selecting quality seeds to caring for your tree as it grows, every step is essential for a successful gardening venture. Enjoy the journey of watching your cherry tree flourish, and soon you'll be able to enjoy the fruit of your labor in the form of sweet and juicy cherries.
"Gardening is a way of showing that you believe in tomorrow." - Unknown
By Guest, Published on September 20th, 2024