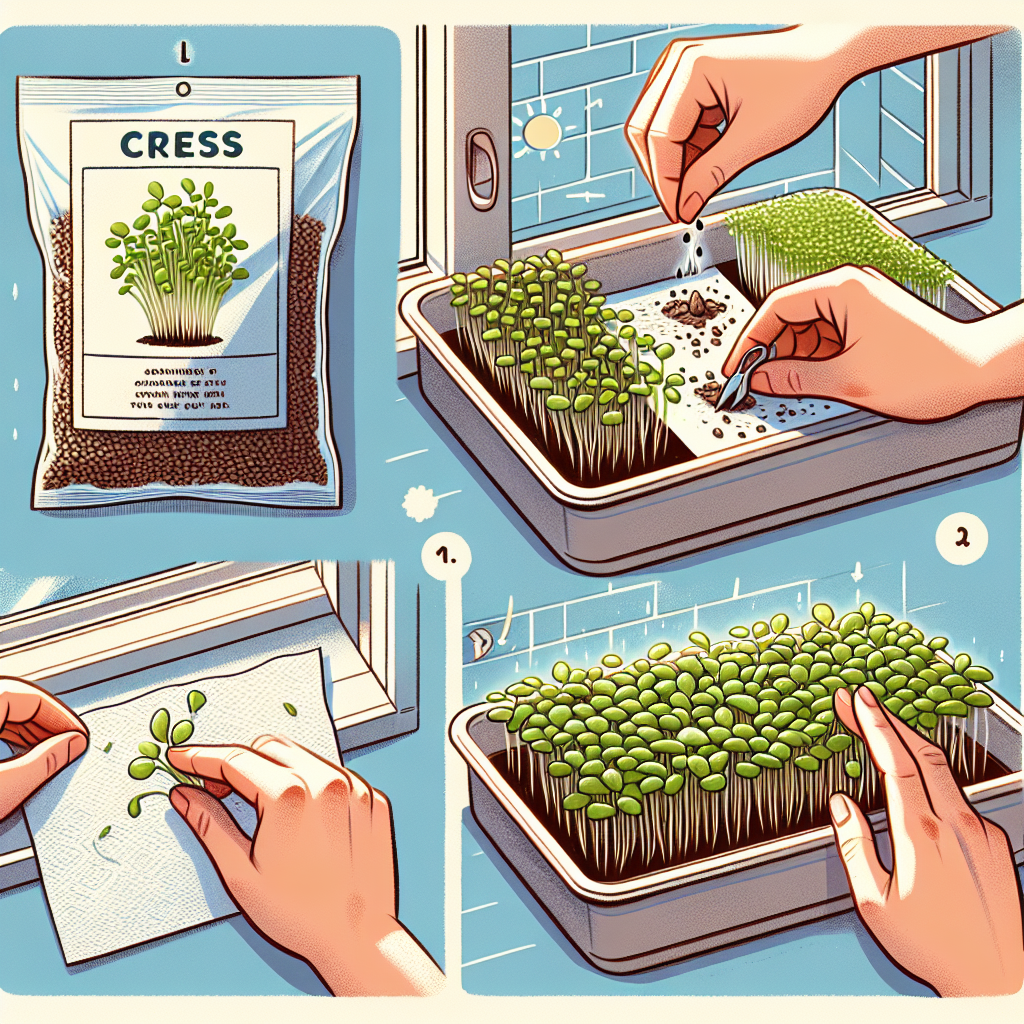
How to grow cress
How to Grow Cress: A Complete Guide
Growing cress is a delightful and rewarding gardening experience. Not only is this nutrient-packed green a culinary favorite, but it is also incredibly easy to cultivate at home. In this article, we'll dive into everything you need to know to successfully grow cress, including its nutritional benefits, preferred growing conditions, and a step-by-step guide for beginners.
Understanding Cress: The Basics
Cress is a member of the mustard family and comes in several varieties, including common garden cress (Lepidium sativum), watercress, and bittercress. It is characterized by its peppery flavor, which adds a delightful kick to salads, sandwiches, and garnishes.
- Common Garden Cress: Fast-growing and easily cultivated, perfect for novice gardeners.
- Watercress: Best suited for aquatic environments; has a stronger flavor.
- Bittercress: Distinctive for its bitter taste, ideal for adventurous palettes.
Nutritional Benefits of Cress
Aside from its distinct flavor, cress offers an array of health benefits. This humble plant is rich in vitamins and minerals:
- Vitamins A, C, and K: Essential for your immunity, skin health, and bone strength.
- Antioxidants: Protects the body from free radicals and promotes overall well-being.
- Fiber: Aids in digestion and helps maintain a healthy gut.
Adding cress to your diet can bolster nutritional intake while enhancing the flavor of your favorite dishes.
Ideal Growing Conditions for Cress
Before embarking on your cress-growing journey, it’s essential to understand the ideal growing conditions for optimal growth. Cress thrives in a few specific conditions:
- Light: Cress prefers indirect sunlight but can tolerate low-light environments.
- Temperature: Best grown at temperatures between 15°C and 20°C (59°F - 68°F).
- Soil: Requires well-draining, nutrient-rich soil.
- Water: Consistency is key; keep the soil moist but not soggy.
Ensuring these conditions are met will lead to bountiful growth and healthy plants.
Step-by-Step Guide to Growing Cress
Now that you have a clear understanding of cress and its growing requirements, let’s dive into the step-by-step process of how to grow cress effectively.
Step 1: Gather Your Materials
To get started, you will require the following materials:
- Seeds (common garden cress is recommended for beginners)
- Containers (seed trays, pots or even a recycled container)
- Potting soil or seed-starting mix
- Watering can or spray bottle
- Plastic wrap or a clear plastic lid (optional)
Step 2: Prepare Your Container
Choose a container with good drainage. If you’re using a recycled container, make sure to poke holes in the bottom to prevent waterlogging. Fill your container with potting soil, leaving about an inch of space at the top.
Step 3: Sow the Seeds
Sprinkle your cress seeds evenly across the soil surface. It’s crucial not to over-seed; a light layer is ideal. Gently press down on the seeds to ensure good contact with the soil.
Step 4: Water the Seeds
Using a watering can or a spray bottle, gently mist the soil until it is evenly moist. Avoid using a strong stream of water as it may displace the seeds.
Step 5: Cover the Seeds
If you're in a particularly dry environment, you might consider covering your container with plastic wrap or a clear lid to create a mini greenhouse effect. This can help retain moisture and encourage germination. Remove the cover once you see seedlings emerging.
Step 6: Provide the Right Light
Place your container in a spot where it will receive indirect sunlight. Too much direct sunlight can scorch the delicately growing seedlings. Rotate the container every few days if necessary to ensure even light exposure.
Step 7: Water Regularly
Keep the soil consistently moist, but not waterlogged. Check daily and water as needed. Depending on temperature and humidity, you might need to spray water on your seedlings more often than you would for other plants.
Step 8: Harvest Your Cress
After about 7 to 14 days, your cress will be ready to harvest. The plants will typically grow to around 2-3 inches tall. Use scissors to snip off the foliage above the soil level; this encourages further growth and you can harvest multiple times.
Growing Cress Indoors vs. Outdoors
Cress is incredibly versatile, allowing it to be grown both indoors and outdoors. Here’s a quick comparison to guide your decision:
| Aspect | Indoors | Outdoors |
|---|---|---|
| Space Required | Small | Moderate to large |
| Control Over Conditions | Higher | Lower |
| Harvest Time | Faster | Seasonal |
| Risk of Pests | Lower | Higher |
Common Issues and Solutions in Growing Cress
Like any plant, cress can face challenges during its growth. Here are some common issues and solutions for a successful harvest:
- Leggy Seedlings: If your seedlings grow tall and thin, it indicates they are not receiving enough light. Move them to a brighter location.
- Waterlogging: Yellowing leaves can be a sign of overwatering. Ensure your container has ample drainage.
- Pests: Keep an eye out for aphids; if they appear, rinse the plants with water or use insecticidal soap.
Conclusion: Enjoying Your Home-Grown Cress
Growing cress is a fulfilling process that yields delicious results. The ease of cultivation, combined with its nutritional benefits, makes cress an excellent addition to any home garden. Whether you choose to grow cress indoors or outdoors, following these guidelines will help you achieve a thriving crop.
So gather your materials, prepare your container, and embark on the journey of how to grow cress. In no time, you'll be snipping fresh cress for salads, sandwiches, and a variety of dishes. Happy gardening!
By Guest, Published on October 4th, 2024