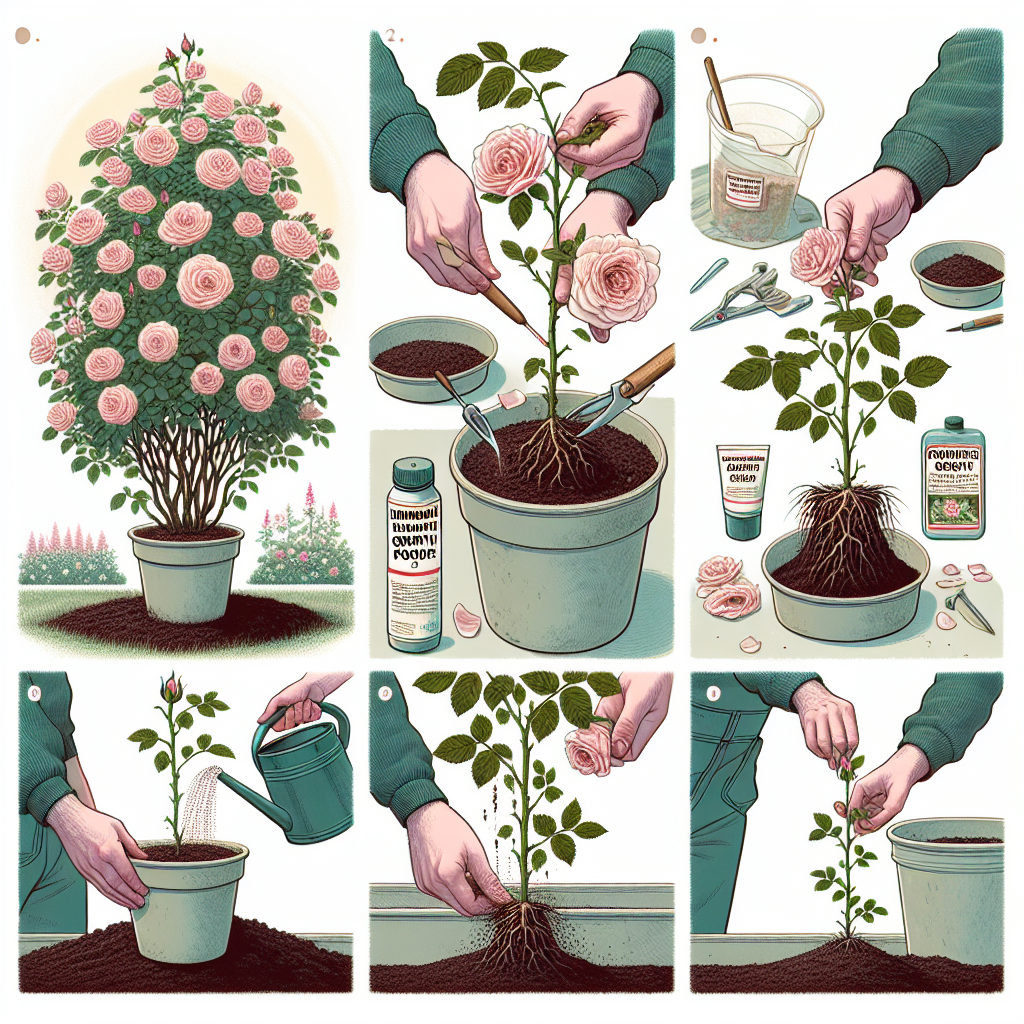
How to grow more rose bushes from cuttings
How to Grow More Rose Bushes from Cuttings
Growing rose bushes from cuttings is a rewarding process that allows gardeners to expand their floral endeavors without the need for expensive nursery purchases. This method not only saves money but also lets you replicate your favorite rose varieties right from your garden. In this article, we'll explore effective techniques, best practices, and tips on how to grow more rose bushes from cuttings.
Understanding the Basics of Rose Cuttings
Before delving into how to grow more rose bushes from cuttings, it’s essential to understand what exactly cuttings are. Cuttings are healthy segments of stems taken from a plant, which can develop roots and grow into new plants. When it comes to roses, the process is relatively straightforward and can be done at any time of the year, although late spring and early summer are often considered the best times.
Choosing the Right Time to Take Cuttings
The timing of taking rose cuttings is crucial for success. Here are some important points to consider:
- Ideal Season: Late spring to early summer.
- Weather Conditions: Cuttings should be taken during a mild day with overcast conditions to minimize stress.
- Health of the Plant: Select stems from vigorous and disease-free plants for optimal results.
Preparing to Take Cuttings
Preparation is key to ensuring your cuttings have the best chance at survival. Here are steps to prepare:
- Gather Tools: You will need sharp, clean pruning shears, a cutting board, potting soil, and rooting hormone (optional).
- Select the Cuttings: Choose semi-woody stems about 6-8 inches in length. Each cutting should have several buds.
- Clean Your Tools: To prevent disease, disinfect your pruning shears.
Taking the Cuttings
Now that you are prepared, here’s how to take the cuttings:
- Make a clean cut at a 45-degree angle just below a leaf node using your pruning shears.
- Remove any leaves on the lower half of the cutting to prevent rot when planted.
- If using rooting hormone, dip the end of the cutting into it to enhance root growth.
Preparing the Cuttings for Planting
After taking the cuttings, the next step is to prepare them for planting. Follow these steps:
- Choose a Container: Select a small pot or container with drainage holes.
- Fill with Soil: Use a well-draining potting mix, ideally formulated for cuttings.
- Moisten the Soil: Lightly dampen the mix before planting the cuttings.
Planting the Cuttings
Now that you have everything ready, it’s time to plant your cuttings. Here’s how to do it effectively:
- Create a hole in the soil with your finger or a pencil to accommodate the cutting.
- Insert the cutting into the hole, ensuring at least one node is buried in the soil.
- Firm the soil around the base of the cutting to provide stability.
Providing the Right Conditions for Growth
After planting, your cuttings need a nurturing environment to root and sprout. Here are some conditions to promote growth:
- Humidity: Create a humid environment by covering the pot with a plastic bag or a mini greenhouse.
- Temperature: Keep the cuttings in a warm location with indirect sunlight.
- Moisture: Check the soil regularly, ensuring it remains moist but not soggy.
Monitoring Progress
Once planted, the cuttings will need regular monitoring. Here’s what to look for:
- Check for Roots: After a few weeks, gently tug on the cuttings to see if you feel resistance, indicating root growth.
- Leaf Changes: If you see new leaf growth, it’s a promising sign that rooting is successful.
- Watering Needs: Adjust moisture levels based on the needs of your cuttings.
Transplanting Successful Cuttings
Once your cuttings have developed roots and show signs of growth, it’s time to transplant them. Follow these steps:
- Choose a suitable location in your garden with good drainage and sunlight.
- Gently remove the cuttings from their pots without disturbing the roots.
- Transplant them into the prepared spots, ensuring the soil level remains the same.
Aftercare for Your New Rose Bushes
After transplanting, proper care is necessary for your new rose bushes to thrive:
- Watering: Keep the soil consistently moist but not overly saturated.
- Fertilizing: After a month, apply a balanced fertilizer to promote healthy growth.
- Pest Control: Regularly check for pests and treat them promptly.
"Patience is essential when growing roses from cuttings. Allow time for roots to establish and the plant to mature." - Gardener’s Wisdom
Conclusion
By following the outlined steps, you can successfully replicate your favorite rose bushes through cuttings. This rewarding method not only helps expand your garden but also fosters a deeper connection to your floral cultivations. Remember to be patient; the process may take some time, but the blooming results are certainly worth the effort. Whether you are looking to enhance your garden’s beauty or share your love of roses with friends and family, knowing how to grow more rose bushes from cuttings is a valuable skill in any gardener’s journey.
Final Tips for Success
Before you embark on your rose cutting adventure, keep these final tips in mind:
- Experiment: Don’t hesitate to try cuttings from various rose types to discover what works best for you.
- Document Your Process: Keeping a gardening journal can help track which methods were successful.
- Learn from Experience: Every garden is unique; adapt your techniques based on what you observe.
With dedication and care, your rose cutting endeavors can transform into a blooming success. Happy gardening!
By Guest, Published on August 7th, 2024