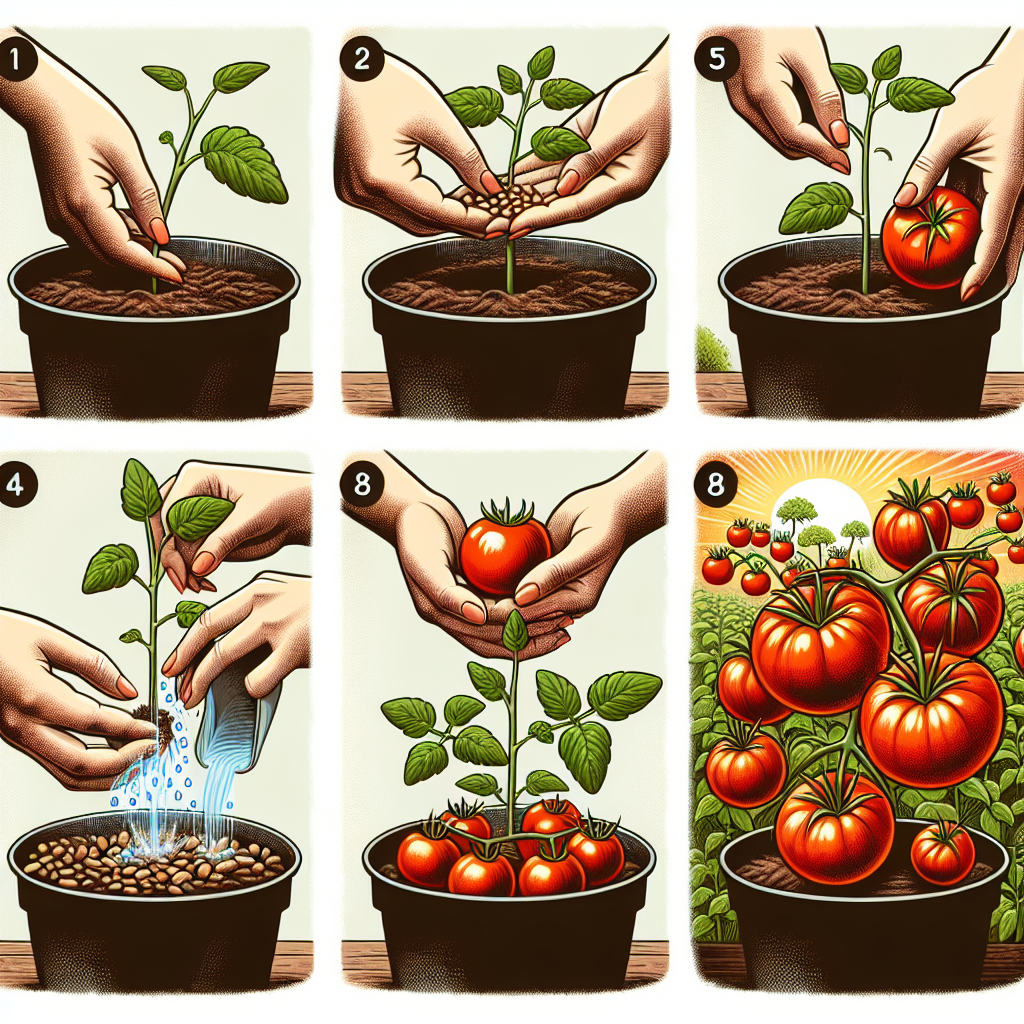
How to grow roma tomatoes from seed
How to Grow Roma Tomatoes from Seed: A Comprehensive Guide
Growing your own vegetables is not only rewarding, but it also allows you to enjoy fresh produce right from your garden. Among the various types of tomatoes, **Roma tomatoes** are favored for their rich flavor and meaty texture, making them ideal for sauces, canning, and salads. If you’re eager to learn how to grow roma tomatoes from seed, you’re in the right place! In this article, we’ll cover everything from seed selection to transplanting, care, and harvesting. Let's dig in!
Step 1: Choosing the Right Seeds
Before planting Roma tomatoes, you need to choose high-quality seeds. These can be found in local garden centers or online. Look for seeds that are organic or non-GMO for a healthier planting experience. Here are some tips for selecting the best seeds:
- **Reputable Sources**: Purchase seeds from well-known brands or seed banks.
- **Revived Varieties**: Check if the seeds are heirloom varieties, known for superior taste.
- **Germination Rates**: Look for seeds with high germination rates as indicated on the packaging.
Step 2: Preparing the Soil
Soil preparation is crucial to the success of your **Roma tomato** plants. Here’s a brief overview of how to prepare your soil:
- Choose the Right Location: Roma tomatoes thrive in full sun. Select a location that receives at least 6-8 hours of sunlight a day.
- Test the Soil: Conduct a pH test; the ideal pH for tomatoes is between 6.0 and 6.8.
- Add Organic Material: Mix in compost or well-rotted manure to enrich the soil with nutrients.
- Loosen the Soil: Use a garden fork to aerate the soil, ensuring proper drainage.
Step 3: Planting the Seeds
Now that your soil is ready, it's time to plant the seeds. Follow these steps for successful seed planting:
- Timing**: Start seeds indoors about 6-8 weeks before the last frost date in your area.
- Containers**: Use seed trays or small pots filled with seed-starting mix.
- Planting Depth**: Sow seeds at a depth of about 1/4 inch in the soil.
- Watering**: Lightly water the seeds while ensuring not to drown them. Keep the soil moist, but not soggy.
Step 4: Providing the Right Conditions
Seeds need the right conditions to germinate and thrive. Here’s how to ensure your **Roma tomato** seeds see the best start:
- Temperature**: Ideal germination temperature for tomatoes is between 70°F and 90°F.
- Light**: Once seedlings emerge, provide them with 12-16 hours of light daily. Use grow lights if natural sunlight is insufficient.
- Humidity**: If necessary, use a plastic dome over the seed tray to maintain humidity until germination.
Step 5: Thinning Seedlings
Once your seedlings reach about two inches in height and have their first true leaves, it’s time to thin them out. This is important to avoid overcrowding, which can lead to weak plants.
- Choose the Strongest Seedlings**: Aim to keep the healthiest plants and remove the weaker ones.
- Use Scissors**: Instead of pulling out seedlings, use scissors to snip them at soil level to avoid disturbing the roots of nearby plants.
Step 6: Transplanting Seedlings Outdoors
After all danger of frost has passed and your seedlings are at least 6-8 inches tall, you can transplant them outdoors. Here’s what to keep in mind:
- Hardening Off**: Gradually acclimate seedlings to outdoor conditions by placing them outside for a few hours each day for about a week.
- Spacing**: Plant seedlings 24-36 inches apart to allow proper air circulation.
- Burying Depth**: When transplanting, bury the seedlings up to the first set of leaves. This encourages strong root development.
Step 7: Caring for Your Roma Tomatoes
Caring for your Roma tomatoes as they grow is crucial to ensure a bountiful harvest. Here are essential care tips:
- Watering**: Keep the soil consistently moist, especially during dry spells. Aim for about 1-2 inches of water per week.
- Fertilizing**: Use a balanced fertilizer such as 10-10-10 or one specifically formulated for tomatoes. Fertilize every 4-6 weeks during the growing season.
- Mulching**: Apply a layer of organic mulch around the plants to retain moisture and suppress weeds.
- Pruning**: Remove suckers that grow in the leaf axils to promote better airflow and larger fruit development.
Step 8: Pest and Disease Management
Keeping an eye out for pests and diseases is essential for maintaining healthy Roma tomatoes. Here are common issues to be aware of:
- Pests**: Watch for aphids, whiteflies, and spider mites. Hand-picking or insecticidal soap can help.
- Diseases**: Look out for blight and blossom end rot. Ensure proper spacing and watering practices to minimize risk.
Step 9: Harvesting Your Roma Tomatoes
After months of caring for your plants, it’s time for the most rewarding part: harvesting! Here’s how to know when your Roma tomatoes are ready:
- Color**: Look for a deep red color; this indicates ripeness.
- Firmness**: Give the tomato a gentle squeeze; it should feel firm but slightly soft.
- Time of Day**: Harvesting in the morning when temperatures are cooler can enhance flavor.
Conclusion
Growing Roma tomatoes from seed can be an enjoyable and fulfilling experience, allowing you to enjoy the fruits of your labor in various culinary delights. By following these steps on how to grow roma tomatoes from seed, you can ensure a successful gardening season filled with delicious tomatoes. Remember to be patient, as each step in the process contributes to the overall success of your garden. Happy gardening!
"The joy of gardening is not just in the harvest, but in the process of nurturing life." - Anonymous
By Guest, Published on August 9th, 2024