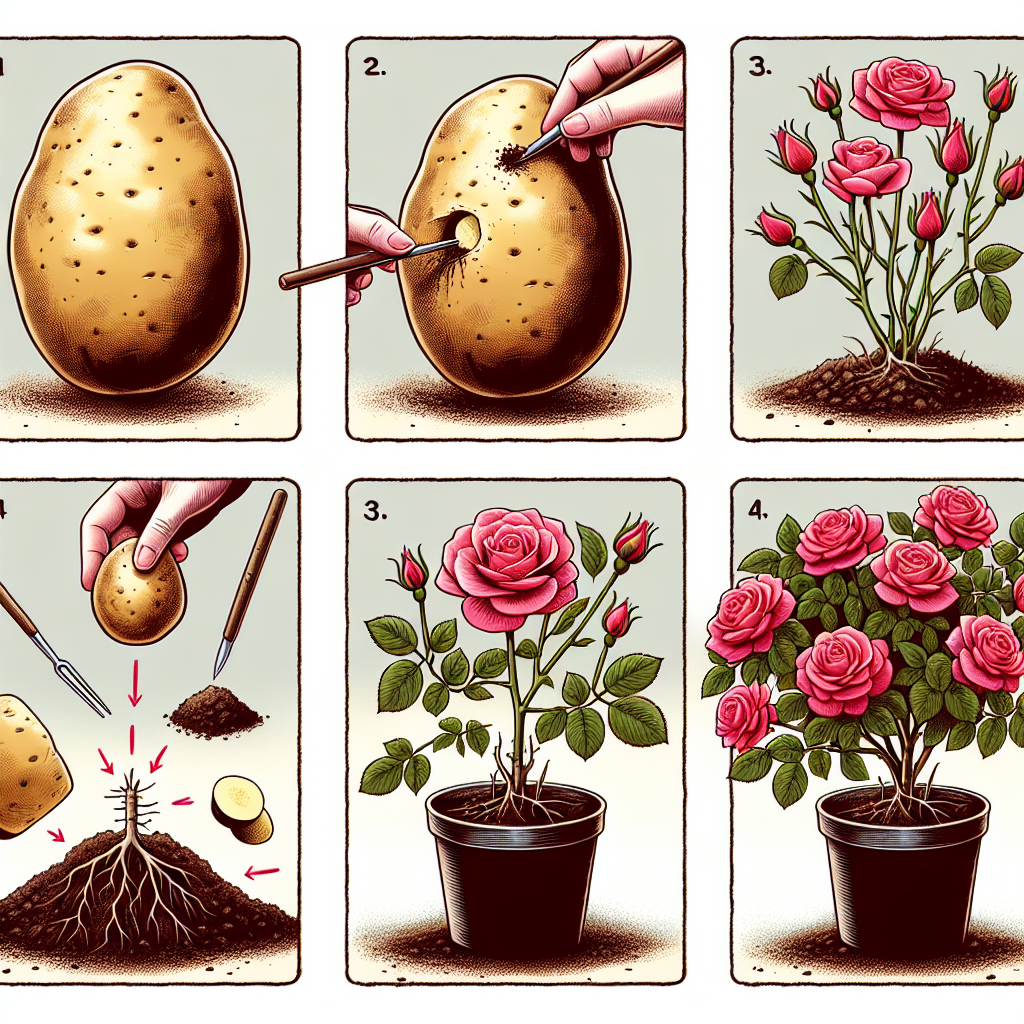
How to grow roses with a potato
How to Grow Roses with a Potato: A Unique Gardening Technique
Growing roses can be a rewarding endeavor for gardeners of all skill levels. While traditional methods of planting roses often involve seeds or cuttings, there’s an intriguing technique involving potatoes that has gained attention among gardening enthusiasts. In this article, we’ll explore how to grow roses with a potato, the science behind this method, and provide a step-by-step guide to get you started.
The Science Behind Growing Roses with Potatoes
At first glance, the idea of using a potato to grow roses may seem peculiar. However, the scientific rationale is quite simple. Potatoes are ideal for this process because they serve as a source of nutrients and moisture, which can accelerate the rooting process of the rose cutting.
When a rose cutting is inserted into a potato, the potato provides the necessary carbohydrates and moisture to help the cutting develop roots. This method utilizes the potato’s natural ability to produce shoots, which can lead to robust root systems for your rose plants.
Benefits of the Potato Method
This unique method brings several benefits:
- Nutrient-Rich Environment: Potatoes are packed with nutrients that help promote healthy root growth.
- Moisture Retention: Potatoes hold moisture, reducing the frequency of watering.
- Increased Success Rate: This method has a higher success rate compared to other propagation techniques.
- Cost-Effective: It’s a low-cost method, using common items found in most households.
Materials You Will Need
Before diving into the process, gather the following materials:
- Healthy rose cutting (6-8 inches in length)
- Medium-sized potato
- Sharp knife or pruning shears
- Rooting hormone (optional)
- Potting soil
- Small pot or container
- Water
Step-by-Step Guide: How to Grow Roses with a Potato
Follow these steps to successfully propagate roses using a potato:
Step 1: Prepare the Rose Cutting
Start by selecting a healthy rose from your garden or a nursery. The cutting should be approximately 6-8 inches long and taken from a green stem, rather than wood. Here’s how to prepare it:
- Using the sharp knife or pruning shears, make a diagonal cut just below a leaf node.
- Remove the lower leaves from the cutting, leaving only a couple of leaves at the top to reduce moisture loss.
- Optionally, dip the cut end in rooting hormone to promote root growth.
Step 2: Prepare the Potato
Select a medium-sized potato that is free of blemishes and sprouts. Here’s how to prepare it:
- Using the knife, make a deep slit or hole in the center of the potato, about 2-3 inches deep.
- Ensure the hole is big enough to comfortably fit the rose cutting without excessive pressure.
Step 3: Insert the Rose Cutting
Now it’s time to combine the rose cutting with the potato:
- Carefully insert the prepared rose cutting into the hole you made in the potato.
- Ensure the cut end of the rose cutting is snug and in contact with the moist interior of the potato.
Step 4: Potting the Setup
Here’s how to pot the potato with the cutting:
- Fill a small pot or container with potting soil.
- Make a hole in the soil and place the potato with the rose cutting upright in the pot.
- Cover the potato with soil, ensuring the top of the potato remains exposed.
Step 5: Watering and Placement
After potting, follow these essential care instructions:
- Water the soil thoroughly, allowing excess drainage.
- Place the pot in a location with indirect sunlight, as direct sunlight can scorch the cutting.
- Keep the soil consistently moist but not waterlogged, checking regularly for moisture levels.
Step 6: Patience and Care
Rooting takes time, so patience is key. Here’s what to do during this period:
- Check for roots after about 4-6 weeks.
- If you notice new leaves emerging, it’s a good sign that roots are forming.
- Continue to provide care by moderating watering based on the soil’s moisture.
Step 7: Transplanting the Rose
Once roots are well-established, it’s time to transplant your rose. Here’s how:
- Choose a suitable spot in your garden or a larger pot.
- Carefully remove the potato and cutting from the original pot.
- Place in the new hole, covering the roots and potato with soil.
- Water the transplanted rose thoroughly.
Conclusion: Embracing Unique Gardening Techniques
By utilizing unique techniques such as how to grow roses with a potato, gardeners can explore innovative ways to propagate their favorite plants. This method not only offers a cost-effective solution but also enhances the chances of successful rooting. As you start your journey with this unusual technique, remember to provide care and attention to your growing rose.
Gardening is about experimentation and creativity, so don’t hesitate to try new methods and techniques. Share your experiences and tips in the comments below, and let’s continue to foster a vibrant gardening community!
"The garden suggests there might be a place where we can meet nature halfway." - Michael Pollan
Additional Tips for Successful Rose Care
While propagating roses with a potato is a fascinating technique, remember that once you’ve successfully grown your roses, they’ll require proper care. Here are some additional tips for maintaining healthy roses:
- Pruning: Regularly prune dead or damaged stems to encourage new growth.
- Fertilizing: Use a balanced fertilizer to provide essential nutrients.
- Pest Control: Monitor for pests regularly and treat as needed with organic solutions.
- Watering: Roses need about 1 inch of water per week. Water deeply to encourage deep root growth.
- Sunlight: Ensure they receive at least 6 hours of direct sunlight daily.
Happy gardening!
By Guest, Published on October 17th, 2024