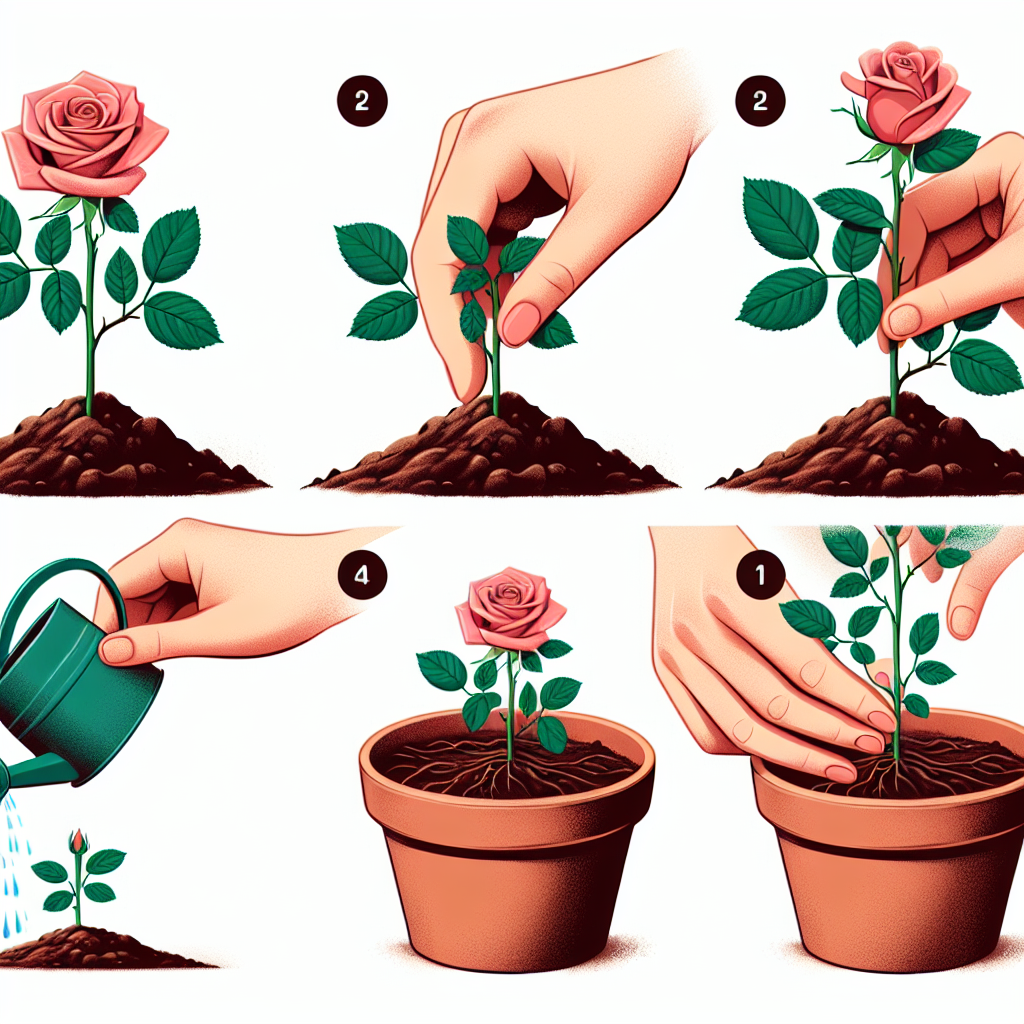
How to plant a rose stem in a pot
How to Successfully Plant a Rose Stem in a Pot
Growing roses can be a rewarding and fulfilling endeavor for any gardening enthusiast. Whether you have a spacious garden or a small balcony, planting roses in pots offers flexibility and beauty. In this article, we’ll guide you through the process of planting a rose stem in a pot, ensuring you have a thriving plant right at your fingertips.
Why Choose to Plant Roses in Pots?
There are several advantages to planting roses in pots:
- Mobility: Potted roses can be moved to better locations for sunlight or protection from harsh weather.
- Space Efficiency: Perfect for small spaces, such as patios, balconies, or small gardens.
- Soil Control: You can control the quality of the soil better than in ground planting.
- Drainage: Pots often provide better drainage compared to the ground, reducing the risk of root rot.
Types of Pots Suitable for Rose Planting
Choosing the right pot is crucial for the healthy growth of your rose plant. Here are some options you may consider:
- Clay Pots: Good breathability but may dry out quicker.
- Plastic Pots: Light-weight and retain moisture well.
- Fiberglass Pots: Durable and insulating, offering good temperature control.
Opt for pots that are at least 12-14 inches in diameter and have drainage holes at the bottom.
The Right Time to Plant a Rose Stem
Timing is essential when planting a rose stem. The best time to plant roses in pots is during early spring or fall, as these seasons allow the plants to establish roots before the extreme weather conditions of summer and winter.
Tools and Materials Needed
Before you start, gather the following tools and materials:
- Healthy rose stem cutting
- Pot with drainage holes
- Quality potting soil
- Rooting hormone (optional)
- Watering can or spray bottle
- Garden shears
- Gloves (for protection)
Step-by-Step Guide on How to Plant a Rose Stem in a Pot
Now that you have everything ready, let's dive into the detailed steps to plant a rose stem in a pot:
- Choose a Healthy Stem: Select a healthy, six to eight-inch long stem from your existing rose plant. Ensure it has at least one leaf node.
- Prepare the Stem: Make a clean cut at a 45-degree angle just below a leaf node. This increases the surface area for absorption.
- Dip in Rooting Hormone: If using a rooting hormone, dip the cut end of the stem into the powder or gel. This helps stimulate root growth.
- Prepare the Pot: Fill your pot with potting soil, leaving a couple of inches at the top. Ensure the soil is moist but not soggy.
- Plant the Stem: Make a hole in the soil with your finger or a stick and place the cutting inside, covering the cut end with soil. Press the soil gently around the stem to support it.
- Water the Plant: After planting, water the soil gently using a watering can or spray bottle, ensuring the soil is adequately moist.
- Provide Proper Lighting: Place the pot in a location with indirect sunlight, as full direct sunlight may be too harsh initially.
- Monitor Water Levels: Check the soil regularly. It should remain moist but not soggy. Water when the top inch of the soil feels dry.
Caring for Your Potted Rose Stem
Once you've successfully planted your rose stem, consistent care is key to its survival. Here are some care tips:
- Fertilizing: Feed your potted rose with a balanced fertilizer during the growing season (spring and summer) to promote healthy growth.
- Pruning: Once your rose plant has established roots and starts to grow, prune as necessary to maintain shape and promote flowering.
- Sunlight: As the plant matures, gradually expose it to more sunlight, aiming for at least 6 hours of direct sunlight each day.
- Pest Management: Keep an eye out for pests such as aphids and spider mites. Use insecticidal soap if necessary.
Common Issues You May Encounter
Even with the best intentions, you may face challenges while planting a rose stem in a pot. Here are a few common problems and their solutions:
- Wilting or Yellowing Leaves: This may indicate overwatering. Check the drainage and adjust your watering schedule.
- Poor Growth: If your rose isn’t growing well, it could be due to insufficient light or lack of nutrients. Ensure proper lighting and fertilization.
- Pest Infestation: Regularly inspect your plants for pests. Early detection can save your plant from damage.
Propagation Techniques for Rose Stem Cuttings
If you find joy in planting and want to expand your rose collection, consider propagating more stems. Here are some propagation techniques:
- Water Propagation: Place the cut rose stem in a glass of water, ensuring the node is submerged. Change the water regularly until roots form. Once rooted, transfer it to a pot.
- Soil Propagation: Plant the cut stem directly into moist potting soil and follow the steps mentioned earlier for care and maintenance.
Conclusion
Learning how to plant a rose stem in a pot not only enhances your gardening skills but also introduces lasting beauty to your living space. By choosing the right pot, stem, and care techniques, you can enjoy stunning blooms and a fulfilling hobby. Remember, patience and attention to detail are key. Over time, with proper care, your potted roses will flourish, bringing color and fragrance into your life.
By following these guidelines and tips, you’re well on your way to becoming a successful rose gardener. Whether you stick with one or explore multiple varieties, the satisfaction of nurturing these beautiful plants yields an unparalleled reward.
By Guest, Published on October 14th, 2024