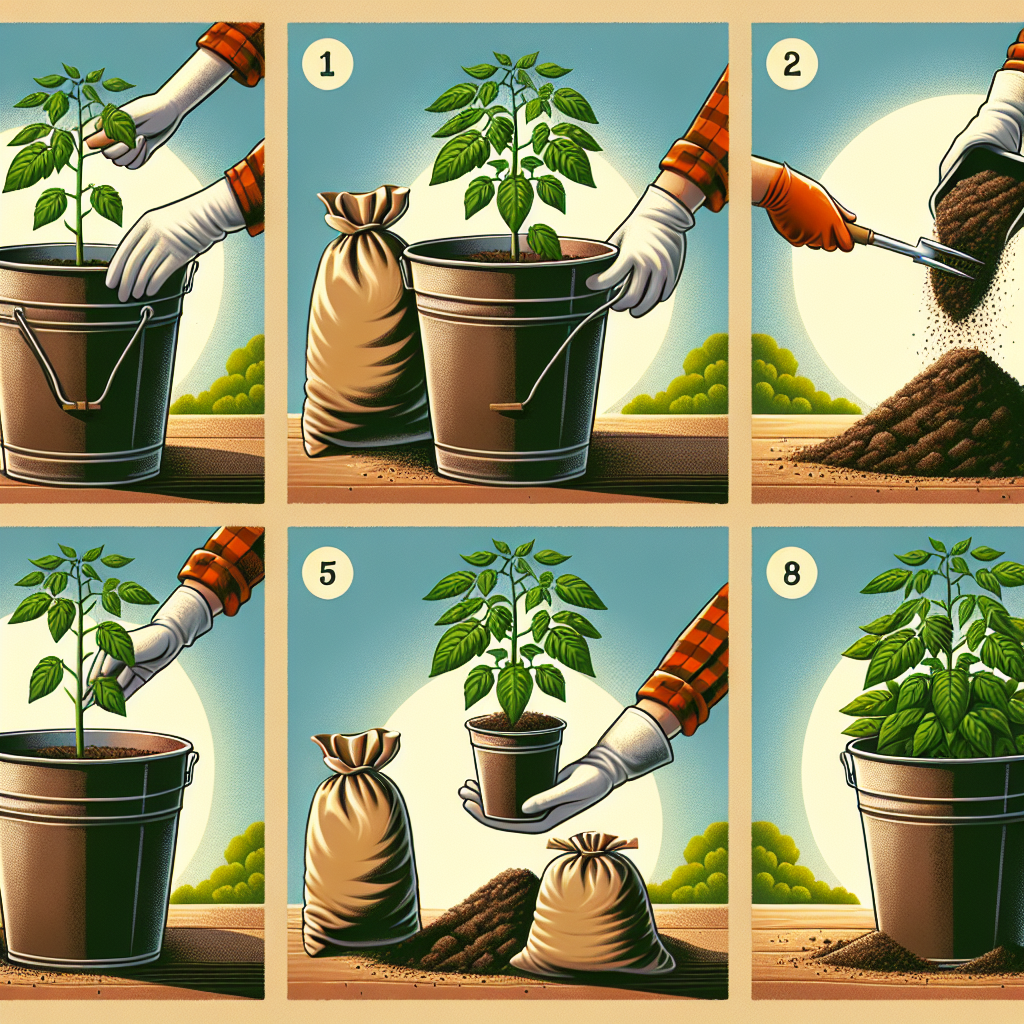
How to plant a tomato plant in a bucket
Growing Tomatoes in Buckets: A Simple Guide
Tomatoes are a popular choice for home gardening, and they can be grown successfully even in small spaces. Whether you have a backyard, a balcony, or a patio, learning how to plant a tomato plant in a bucket can open up avenues for tasty, home-grown tomatoes. This article will explore the essential steps, necessary tools, and helpful tips for planting and maintaining tomato plants in buckets.
Why Choose Buckets for Planting Tomatoes?
Growing tomatoes in buckets has several advantages:
- Space-saving: Buckets are perfect for urban gardening where space is limited.
- Control over soil quality: You can easily select the type of soil and compost mix that suits your tomato variety.
- Drainage: Proper drainage can be achieved, which helps prevent root rot.
- Mobility: Buckets can be moved to optimize sun exposure and protect plants from harsh weather conditions.
Materials You Will Need
Before diving into the planting process, gather the following materials:
- Bucket: A 5-gallon bucket is ideal for growing a tomato plant.
- Drill: To create drainage holes at the bottom of the bucket.
- Soil: A high-quality potting mix that retains moisture but drains well.
- Compost: For added nutrients and organic matter.
- Tomato seedlings or seeds: Choose a variety suited to your growing conditions.
- Fertilizer: Balanced fertilizer for providing nutrients to your growing plant.
- Support Structure: Such as a stake or a tomato cage for the plant as it grows.
Step-by-Step Guide on How to Plant a Tomato Plant in a Bucket
Follow these steps to successfully plant your tomatoes in buckets:
- Select the Right Tomato Variety: Choose a variety that suits your climate and the space available. Determinate varieties are usually more compact and better suited for container growth.
- Prepare the Bucket: Use a drill to make several drainage holes at the bottom of the bucket. Ensure the holes are large enough to allow excess water to escape but not so large that soil will fall out.
- Create the Soil Mixture: Mix potting soil with compost in a 3:1 ratio. This will provide the right drainage, aeration, and nutrients for healthy tomato growth.
- Fill the Bucket: Fill your bucket with the soil mixture, leaving about 2-3 inches of space at the top. This gap will help retain moisture and create space for mulching.
- Plant the Seedling or Seeds: If using seedlings, dig a small hole in the mixture deep enough to bury at least two-thirds of the stem. If using seeds, plant them about half an inch deep. Cover gently with soil.
- Water the Plant: Moisten the soil thoroughly, ensuring it's damp but not waterlogged. This initial watering helps settle the soil around the roots.
- Fertilization: After a few weeks, apply a balanced fertilizer according to package instructions to give your tomato plant an extra nutrient boost.
- Provide Support: As the plant grows, insert a stake next to the plant or place a tomato cage around it to support its development.
- Mulching: Add a layer of mulch to the surface of the soil to retain moisture, suppress weeds, and regulate soil temperature.
Optimal Growing Conditions for Tomatoes
Tomatoes thrive under specific conditions. Here’s how to create an ideal environment for your bucket-grown plants:
- Sunlight: Tomato plants require at least 6-8 hours of direct sunlight daily.
- Temperature: Ideal temperatures range between 70°F to 85°F during the day and not falling below 55°F at night.
- Watering: Water consistently and deeply. The soil should be kept moist but not overly saturated. Check the top inch of soil; if it’s dry, it’s time to water.
- Humidity: A moderate humidity level is suitable. Excess humidity can encourage diseases.
Common Pests and Diseases
When growing tomatoes in buckets, it's critical to monitor for pests and diseases. Here are some common issues to watch for:
- Aphids: These small insects can be controlled with insecticidal soap or by introducing beneficial insects like ladybugs.
- Whiteflies: These can be managed by sticky traps and by encouraging natural predators.
- Blight: This fungal disease can be mitigated by ensuring good air circulation and avoiding overhead watering.
- Spider Mites: Can be dislodged with a strong spray of water or treated with miticides.
Watering and Nutrient Needs
Tomatoes grown in buckets can dry out quickly, emphasizing the importance of a consistent watering schedule:
- Watering Frequency: Check moisture levels every couple of days, especially during hot weather. Aim to water when the top inch of soil feels dry.
- Fertilizer Schedule: Fertilize every four to six weeks throughout the growing season to promote healthy growth and fruit development.
Harvesting Your Tomatoes
Knowing when to harvest your tomatoes is crucial for obtaining the best flavor:
- Color: Wait until the fruits are fully colored according to their variety. A ripe tomato will have a deep, vibrant color.
- Feel: A ripe tomato will yield slightly to gentle pressure. It should feel firm but not hard.
- Time: Generally, tomatoes are ready to be harvested about 60-85 days after planting, depending on the variety.
Conclusion
Growing tomatoes in buckets is not only an effective way to cultivate your favorite vegetable but also an enjoyable and rewarding experience. From selecting the right materials to maintaining optimal growing conditions, following these steps will guide you through the process. Remember to monitor your plants for pests and nourish them properly, and you will be sure to enjoy a bountiful harvest. With patience and care, you'll master how to plant a tomato plant in a bucket and revel in the fresh taste of home-grown tomatoes!
By Guest, Published on August 22nd, 2024