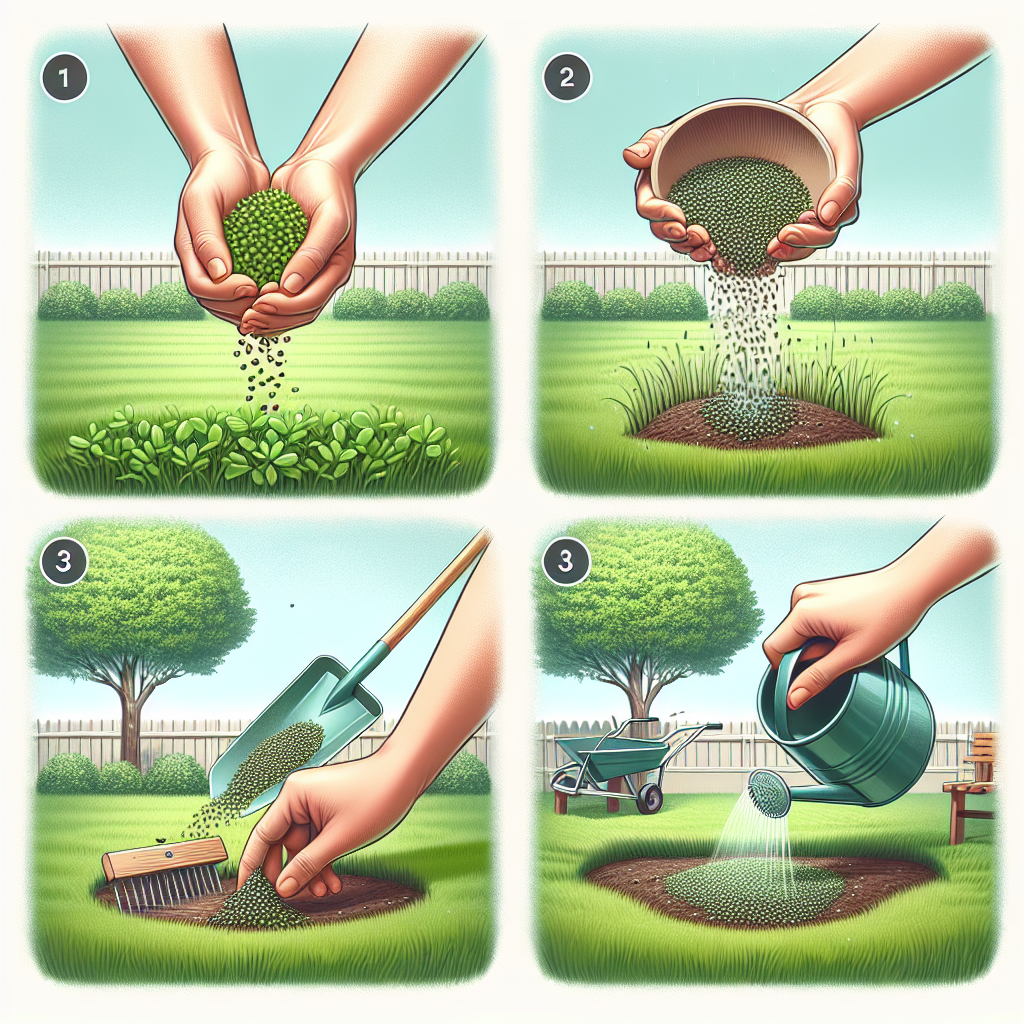
How to plant clover in existing lawn
Transform Your Lawn: How to Plant Clover in Existing Lawn
Green spaces are cherished in homes, providing not only beauty but also environmental benefits. One of the best ways to enhance your existing lawn is by incorporating clover. This small plant is not only easy to grow but also enriches the lawn, offers low maintenance, and attracts pollinators. In this guide, we will walk you through everything you need to know about **how to plant clover in existing lawn** and enjoy its many benefits.
Why Choose Clover?
Before diving into the planting process, it's essential to understand why clover is a fantastic choice for your lawn. Here are some of the reasons:
- Natural Nitrogen Fixer: Clover has the unique ability to fix nitrogen in the soil, enhancing the nutrient quality of your lawn and reducing the need for chemical fertilizers.
- Low Maintenance: Once established, clover requires little maintenance, drought-tolerant, and resists pests better than traditional grass.
- Eco-Friendly: It attracts bees and other beneficial pollinators, promoting biodiversity.
- Competes Well: Clover competes effectively with weeds, helping to reduce their growth.
Preparation for Planting Clover
To successfully integrate clover into your existing lawn, a little preparation is necessary. Follow these steps to ensure the best outcome:
- Choose the Right Clover: There are several types of clover, including white clover, red clover, and creeping clover. For lawns, white clover is often recommended due to its low growth habit and durability.
- Assess Your Lawn: Determine the condition of your current lawn. Is it thick, sparse, or weedy? The existing grass type will influence how easily clover can establish itself.
- Check Soil pH: Clover thrives in soil with a pH of 6.0 to 7.0. Conduct a soil test and make any necessary amendments before planting.
How to Prepare Your Lawn
Preparing your lawn for clover involves several key steps:
- Mowing: Begin by mowing your existing grass low, allowing sunlight to reach the ground. This prepares the area for seedbed preparation.
- Raking: After mowing, rake the lawn to remove debris and to create a fluffy seedbed for the clover seeds.
- Soil Aeration: If your soil is compacted, consider aerating it. This improves water penetration and provides a better environment for seed germination.
Planting Clover Seeds
Once your lawn is prepared, it's time to plant the clover seeds. Here’s how to do it:
- Select the Right Time: Early spring or late summer is the best time for planting clover to ensure optimal growth conditions.
- Seed Density: Use about 1 to 2 ounces of clover seed per 1,000 square feet. This density will ensure you have a dense clover lawn.
- Broadcasting Seeds: Use a hand-held spreader or broadcast the seeds evenly across the area you want to cover, ensuring even distribution.
After Planting Care
Post-planting care is crucial for the establishment of clover in your lawn. Here are some steps to follow:
- Watering: Water the area lightly right after planting and keep the soil consistently moist until the seeds germinate, which typically takes about 7 to 14 days.
- Avoid Heavy Traffic: Restrict foot traffic on the newly seeded area to prevent disturbance of the seeds.
- Monitoring Growth: Watch for signs of germination and growth. If clover appears to be sparse, consider overseeding to boost density.
Maintaining Your Clover Lawn
Once your clover has established itself in your existing lawn, maintenance is straightforward:
- Mowing: If you choose to mow, set the mower high to avoid cutting the clover too short, which can inhibit growth.
- Watering: Once clover is established, it requires minimal watering as it is drought-resistant.
- Fertilizing: Because clover fixes nitrogen, it generally does not need additional fertilizers. However, if you notice any deficiencies, a light application of organic fertilizer may help.
Potential Challenges
While planting clover can be a rewarding experience, there may be some challenges you need to be aware of:
- Competition with Grass: Clover can compete with existing grass, so monitoring is necessary to ensure a good balance between the two.
- Pests and Diseases: While clover is generally resistant to many pests, it can be affected by root rots and fungus. Healthy maintenance practices will minimize these risks.
- Seasonal Changes: Clover may go dormant during hot summers, making it appear brown when grasses are lush. This is normal, and it will revive once cooler temperatures return.
Conclusion: Enjoy the Benefits of Clover
Integrating clover into your existing lawn is a worthwhile endeavor that comes with numerous benefits. From its nitrogen-fixing capabilities to attracting pollinators, clover is not only a beautiful addition to your garden but also a sustainable choice for your landscape. By following the steps laid out above, you will successfully learn how to plant clover in existing lawn and enjoy a vibrant and healthy green space.
"Nature does not hurry, yet everything is accomplished." - Lao Tzu
So get started, and soon, you’ll have a thriving clover lawn, complete with a lush carpet of green and buzzing bees. Happy planting!
By Guest, Published on September 26th, 2024