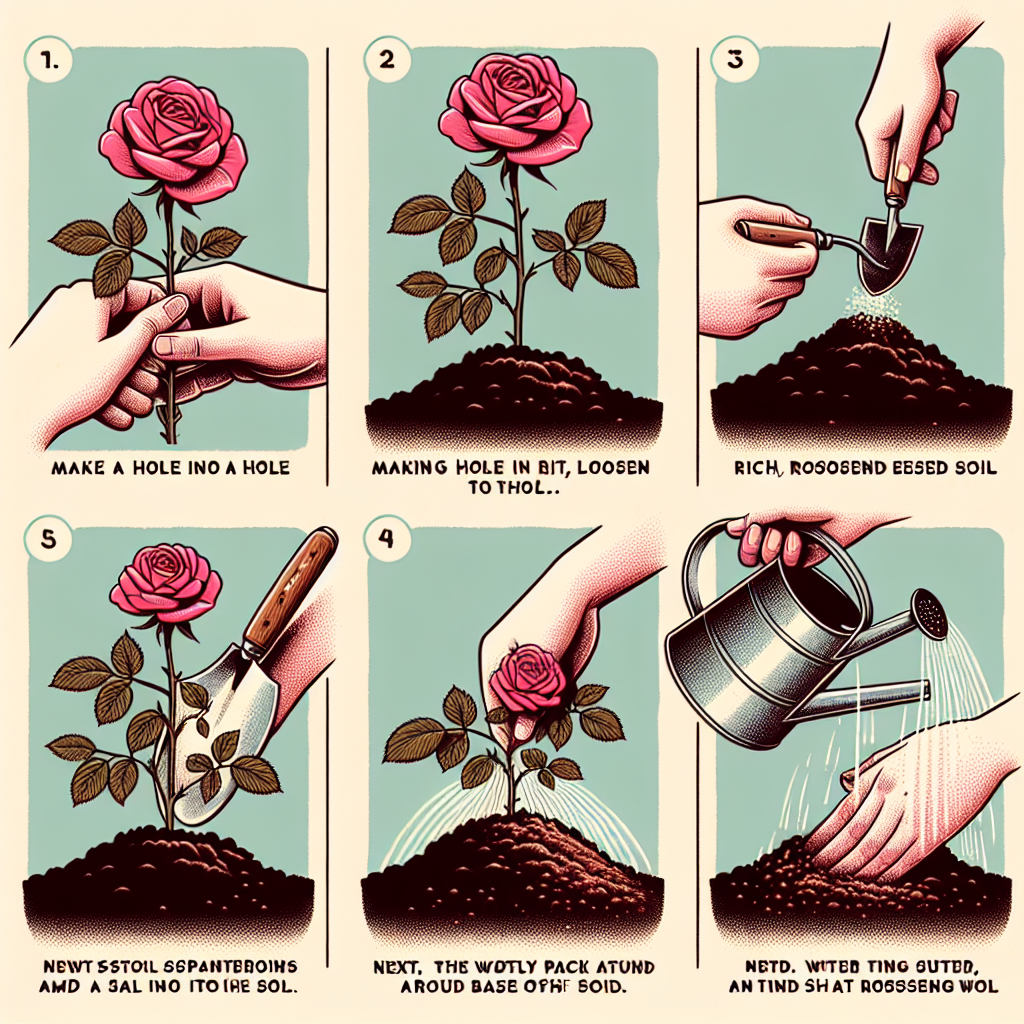
How to plant rose clippings
How to Successfully Propagate Rose Clippings
Growing roses is a delightful and rewarding endeavor for gardeners of all levels. One of the most satisfying methods to expand your rose garden is through propagation using clippings. This technique not only saves you money but also allows you to create new plants with the same beautiful characteristics as the parent rose. In this guide, we'll explore the step-by-step process of cutting and planting rose clippings, ensuring you have healthy, blooming flowers in no time.
Understanding Rose Propagation
Before diving into the practical steps, it's essential to understand why propagating roses using clippings is an effective method. When you take a clipping from a healthy rose bush, you are generating a new plant genetically identical to the parent. This method, known as vegetative propagation, allows you to maintain the quality and characteristics of your favorite roses.
Rose clippings, or cuttings, can be taken from various parts of the plant, but stem cuttings are the most common method. These cuttings can regenerate roots and eventually establish themselves as new plants. Here’s what you need to know before getting started:
- Choose healthy plants: Only take cuttings from robust, disease-free plants.
- Select the right time: Late spring to early summer when the plant is actively growing is ideal.
- Use the right tools: Sharp, clean pruning shears will help minimize damage to the plant.
Gather Your Materials
Before you start the propagation process, it’s essential to have all the necessary materials lined up. Here’s a list of what you’ll need:
- Sharp pruning shears or scissors
- Potting soil or compost
- Small pots or seed trays
- Rooting hormone (optional but recommended)
- Plastic wrap or a plastic bag (for humidity control)
- Water
Step-by-Step Guide on How to Plant Rose Clippings
Now, let’s get into the detailed process of propagating roses from clippings:
1. Choosing the Right Time and Cutting
As mentioned earlier, late spring to early summer is the best time to take rose cuttings. Choose a healthy stem that has recently bloomed but is not overly woody. Ideally, the cutting should be 6 to 8 inches long and consist of at least two or three leaf nodes.
2. Taking the Cutting
Use the sharp pruning shears to make a clean cut just below a leaf node. Make sure your cut is at a 45-degree angle, as this increases the surface area for better water absorption.
"A clean cut means a clean start, which is essential for the new plant's health."
3. Preparing the Cutting
Remove the lower leaves from the cutting while leaving one or two sets of leaves at the top. This helps reduce water loss and allows the cutting to focus its energy on developing roots. If desired, dip the cut end into rooting hormone to promote root growth.
4. Planting the Cutting
Fill small pots or seed trays with potting soil or a mix of potting soil and sand for better drainage. Create holes in the soil with your finger or a pencil, and insert the cuttings about 2 inches deep, ensuring that at least one leaf node is buried.
Once you’ve planted multiple cuttings in a single container, ensure they’re spaced out to allow for airflow. Firm the soil around the base of the clippings to provide stability.
5. Creating a Humidity Chamber
After planting your cuttings, cover them with plastic wrap or a plastic bag to create a greenhouse effect that retains moisture. Use stakes or small supports to keep the plastic off the leaves without crushing them.
6. Caring for the Cuttings
Place the pots in a warm, bright spot out of direct sunlight. Monitor the soil moisture and keep it consistently damp but not soggy. Remove the plastic wrap or bag for a few hours each day to provide ventilation and prevent mold growth.
After a few weeks, gently tug on the cuttings. If you feel resistance, roots are developing. Allow them to grow until they’re well-rooted, which can take anywhere from three weeks to a couple of months.
7. Transplanting the New Plants
Once the cuttings have established a strong root system, it’s time to transplant them into larger pots or your garden. To do this, carefully remove the young plants from their pots, being cautious not to damage the roots. Replant them in enriched garden soil and water thoroughly.
Maintenance and Care for Newly Planted Roses
After planting your rose clippings, ongoing care is crucial for ensuring their health and growth. Here are essential maintenance tips:
- Watering: Keep the soil consistently moist but not overly saturated. Water in the morning to allow the soil to dry slightly before evening.
- Fertilization: Use a balanced fertilizer every 4-6 weeks during the growing season.
- Pruning: Lightly prune overgrown areas to encourage bushier growth.
- Pest control: Monitor for pests like aphids and spider mites. Use organic pesticides as needed.
Common Issues and Solutions
As with any gardening endeavor, you may face challenges when propagating roses from clippings. Here are some common issues and their solutions:
| Issue | Solution |
|---|---|
| Cuttings turn yellow | Check for overwatering; adjust watering schedule. |
| Cuttings develop mold | Improve air circulation and reduce moisture. |
| Slow root growth | Ensure cuttings receive enough warmth and light. |
| Leaves wilt | Check moisture levels; they may need water. |
Conclusion
Learning how to plant rose clippings opens a world of opportunities to enhance your garden with beautiful, fragrant blooms. By following the steps outlined in this guide, you can successfully propagate your favorite varieties and enjoy the satisfaction of growing your own roses from cuttings. Remember that patience is key; with care and responsibility, you will soon see the fruits of your labor blossom into a stunning rose garden that you can cherish for years to come.
Happy gardening!
By Guest, Published on October 7th, 2024