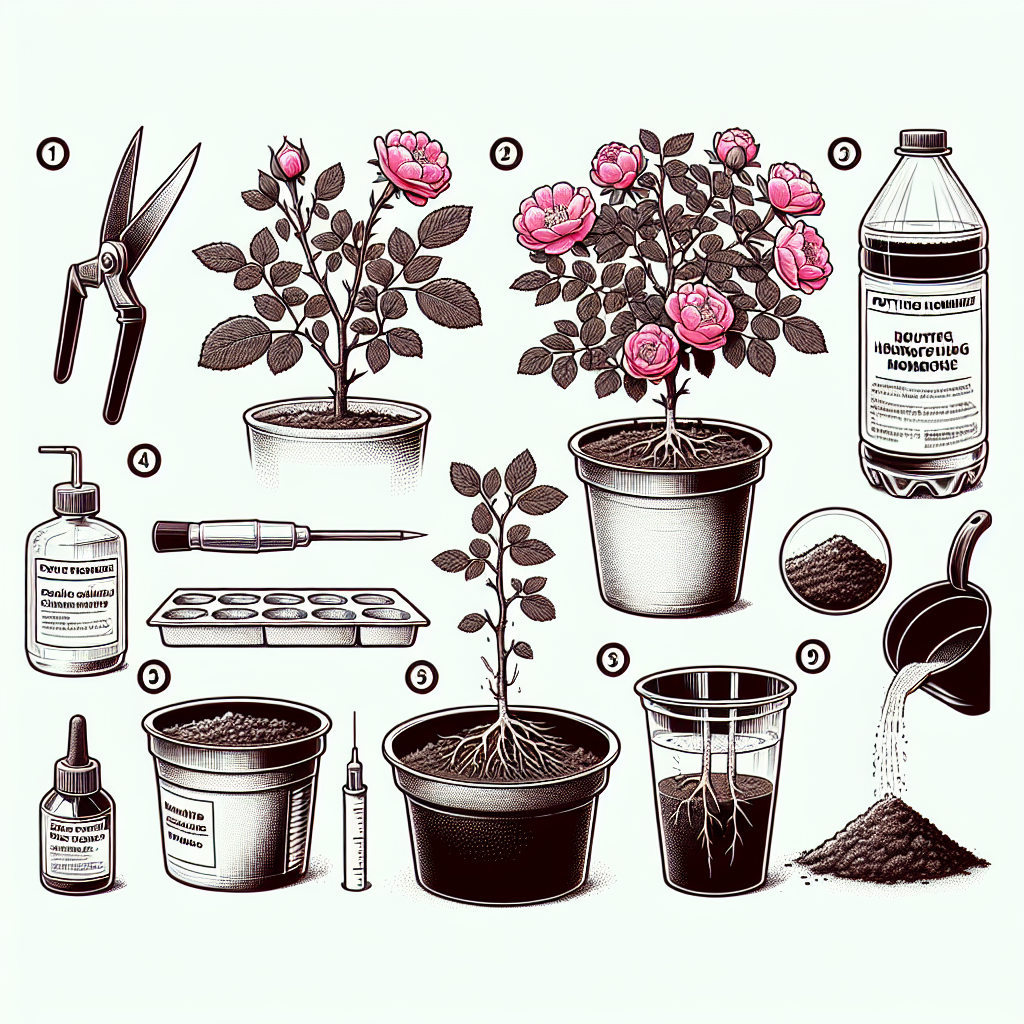
How to plant rose of sharon cuttings
How to Successfully Grow Rose of Sharon From Cuttings
If you're looking to add a touch of beauty and elegance to your garden, the *Rose of Sharon* (Hibiscus syriacus) is a fantastic choice. This hardy shrub is known for its stunning, trumpet-shaped flowers that bloom in a variety of colors. One of the most rewarding aspects of gardening is propagation, and learning how to plant rose of sharon cuttings can allow you to expand your garden without the additional expense of purchasing new plants. In this guide, we'll walk you through everything you need to know to successfully propagate and plant these beautiful shrubs.
Understanding Rose of Sharon
Before diving into the propagation process, it's beneficial to understand the basic characteristics and care requirements of the Rose of Sharon. This deciduous shrub can reach heights of 8 to 12 feet and typically blooms from mid-summer to early fall. Its flowers come in shades of blue, pink, white, and lavender, providing excellent visual appeal. Additionally, Rose of Sharon is known for its resilience to drought and poor soil conditions, making it a low-maintenance addition to your landscape.
Why Propagate from Cuttings?
Propagation through cuttings is an excellent method for several reasons:
- Cost-effective: You can create new plants at no extra cost.
- Genetic uniformity: New plants will have the same characteristics as the parent plant.
- Control over growth conditions: You can create ideal conditions for growth.
Preparing for Propagation
Before you get started with the cuttings, it's essential to gather your materials and choose the right time and method for taking cuttings.
Materials Required
You'll need some supplies before you begin:
- Sharp pruning shears or scissors
- Small pots or containers
- Potting mix (preferably well-draining)
- Rooting hormone (optional)
- Plastic bag or cling wrap (to maintain humidity)
- Water
Choosing the Right Time
The best time to take cuttings is during the late spring to early summer when the plant is actively growing. This is when the cuttings are more likely to take root. However, you can also try taking hardwood cuttings in late fall, although success rates may vary.
How to Take Cuttings
Now that you've gathered your materials and chosen the ideal time, it's time to take your cuttings.
Selecting the Cuttings
Look for healthy stems from the parent plant. The ideal cuttings should be about 6 to 8 inches long, featuring several leaf nodes. It’s best to select semi-hardwood stems, which are neither too soft nor too rigid.
Taking the Cuttings
- Using your sharp pruning shears, cut the stem below a node, ensuring that the cut is clean and at a slight angle.
- Remove the lower leaves from the cutting, leaving only a couple of leaves on top to minimize moisture loss.
- If you have rooting hormone, dip the cut end of the stem into it. This step is optional but can increase your chances of successful rooting.
Planting the Cuttings
Once you have your cuttings prepared, it's time to plant them.
Preparing the Pots
Fill your pots or containers with the well-draining potting mix you prepared earlier. Be sure to hydrate the mix lightly with water, ensuring it is moist but not soaked.
Planting the Cuttings
- Make a small hole in the potting mix with your finger or a pencil.
- Insert the cut end of the cutting into the hole and gently pack the soil around it to eliminate air pockets.
- Repeat with all your cuttings, ensuring they are spaced adequately.
Caring for Your Cuttings
With your cuttings planted, proper care is crucial for successful rooting.
Maintaining Humidity
To create a humid environment that encourages root growth, cover the pots with a plastic bag or cling wrap to trap moisture. Be careful not to let the plastic touch the cuttings.
Light Requirements
Place your cuttings in an area where they will receive bright, indirect sunlight. Direct sunlight can scorch the leaves and hinder development.
Watering
Check the soil regularly to ensure it remains moist. Avoid overwatering, as this can lead to rot, but don't allow it to dry out completely.
Monitoring Progress
After a few weeks, you can begin to evaluate the progress of your cuttings.
Checking for Roots
After about 4-6 weeks, gently tug on the cuttings to see if they resist being pulled from the soil. If you feel resistance, this indicates that roots are forming.
Transplanting
Once your cuttings have established a healthy root system (usually by late summer or early fall), they can be transplanted into larger pots or directly into your garden. Follow these steps:
- Choose a well-drained location in your garden that receives full sun.
- Dig a hole that is slightly larger than the root ball of your cutting.
- Carefully remove the rooted cutting from the pot, taking care not to damage the roots.
- Place the cutting in the hole and backfill with soil, ensuring the plant is level with the ground.
- Water thoroughly to help settle the soil around the roots.
Pitfalls to Avoid
While propagating Rose of Sharon cuttings can be relatively straightforward, there are some common pitfalls you should avoid:
- Ignoring Water Needs: Both overwatering and underwatering can lead to failure, so find a good balance.
- Neglecting Pest Control: Monitor for pests that can harm your cuttings, especially if kept indoors.
- Too Much Direct Sunlight: Protect your cuttings from harsh sun until they are well established.
Conclusion
In summary, knowing how to plant rose of sharon cuttings can significantly enhance your gardening experience. By following the steps outlined in this guide, you'll be well on your way to propagating this beautiful shrub with confidence. With a little time and care, you'll be able to enjoy the lovely blooms of Rose of Sharon in your garden for years to come. Happy gardening!
By Guest, Published on September 15th, 2024