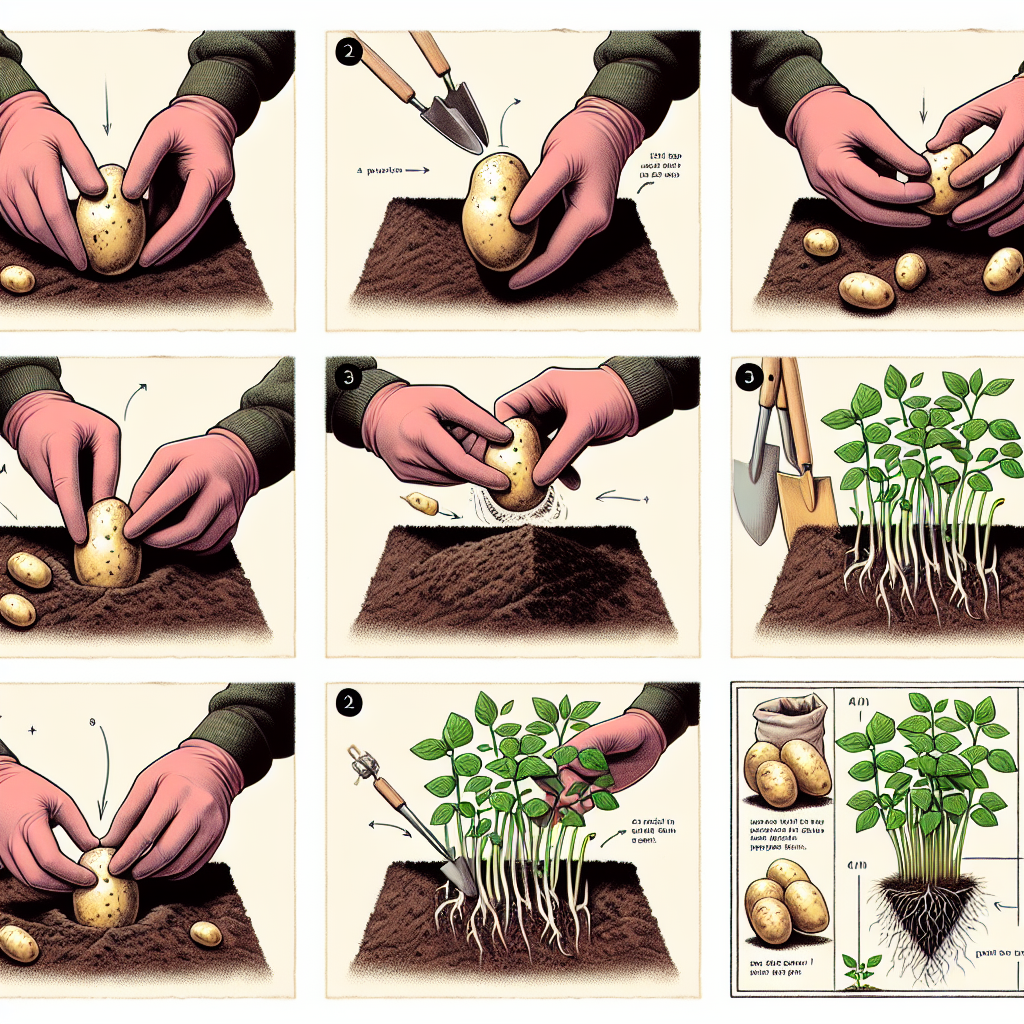
How to plant sprouted potatoes
How to Successfully Plant Sprouted Potatoes
Planting sprouted potatoes can be a rewarding and productive gardening endeavor. Many gardeners prefer using sprouted potatoes, often referred to as "seed potatoes," because they tend to yield more substantial harvests. If you've found yourself wondering how to plant sprouted potatoes, you've come to the right place. In this article, we will guide you through the entire process, from selecting the best tubers to the final harvesting tips.
Understanding Sprouted Potatoes
Before diving into the planting process, it's essential to understand what sprouted potatoes are. These are seed potatoes that have developed shoots, or "eyes," which will grow into new plants. Recognizing good quality sprouted potatoes is vital to ensuring a fruitful crop. Here are a few characteristics to look for:
- Size: Choose medium-sized seed potatoes, roughly the size of a golf ball.
- Sprouting: Look for strong, healthy sprouts; avoid those with shriveled or weak shoots.
- Skin Quality: The skin should be firm with no signs of decay or disease.
Selecting the Right Variety
Different potato varieties offer distinct flavors and textures, so selecting the right kind is crucial for your culinary desires. Here are some popular potato types to consider:
- Yukon Gold: A versatile yellow-fleshed potato that is great for baking and boiling.
- Russet: Ideal for baking and mashing due to its fluffy texture.
- Red Potatoes: Perfect for salads and roasting because of their waxy consistency.
- Fingerling: Unique in shape and flavor, excellent for gourmet dishes.
Preparing Your Soil
Successful potato planting starts with proper soil preparation. Potatoes thrive in loose, well-draining soil rich in organic matter. Consider the following steps to prepare your garden bed:
- Choose the Right Location: Pick a sunny spot in your garden that receives at least 6-8 hours of sunlight daily.
- Amend the Soil: Use compost or well-rotted manure to enhance soil fertility.
- Test Soil pH: Ideal soil pH for potatoes is between 5.8 and 6.5. Amend with lime or sulfur as needed.
- Till the Soil: Loosen the soil to a depth of 12 inches to support healthy root growth.
Preparing Sprouted Potatoes for Planting
Before planting, you'll want to prepare your sprouted potatoes properly:
- Cutting: If your tubers are large, you can cut them into chunks, ensuring each piece has at least one sprout (eye).
- Drying: Let cut pieces sit for 24 hours to form a protective callus over the cut surfaces, which helps prevent rot.
- Spacing: Aim for planting potatoes 12 to 15 inches apart; this spacing will allow for proper growth.
Planting Sprouted Potatoes
The planting method can vary depending on the gardening style, but the basic principles remain largely the same. Here’s how to proceed:
- Create Furrows: Use a hoe or shovel to create furrows in your garden bed, spaced 2-3 feet apart.
- Plant the Potatoes: Place the sprouted potatoes or chunks 3-4 inches deep in the soil, with the sprouted eyes facing up.
- Cover with Soil: Gently cover the potatoes with soil, then press down lightly to remove air pockets.
- Watering: Immediately after planting, water the area well to settle the soil around the tubers.
Care and Maintenance
Once you've planted your sprouted potatoes, they will require regular care to thrive.
Watering
Potatoes need consistent moisture, particularly during their early growth stages. Here’s how to ensure they get enough water:
- Frequency: Water newly planted potatoes at least once a week.
- Amount: Provide about 1-2 inches of water per week, depending on rainfall.
- Mulching: Use organic mulch to help retain soil moisture and suppress weeds.
Pest and Disease Management
Vigilant monitoring is crucial for keeping your potato plants healthy. Common pests and diseases include:
- Colorado Potato Beetle: Handpick or use insecticidal soap to manage infestations.
- Blight: Space plants adequately and remove infected foliage to prevent spread.
- Scab: Maintain even moisture levels to limit the risk of this soil-borne disease.
Harvesting Your Potatoes
Knowing when to harvest is essential for optimal yield. Here’s how to tell when your potatoes are ready:
- Early Varieties: Harvest after about 70-90 days for new potatoes.
- Mature Varieties: Wait until the foliage dies back, indicating that the potatoes are fully developed.
To harvest, gently dig around the plants with a shovel or spading fork, being careful not to damage the tubers. Brush off the soil and let them dry in a shaded area for a few hours before storage.
Storing Your Harvested Potatoes
Proper storage ensures that your harvested potatoes last through the seasons. Here are some tips:
- Cool, Dark, and Dry: Store potatoes in a dark, well-ventilated space, ideally at temperatures between 45-50°F (7-10°C).
- Avoid Light: Keep potatoes away from light, as this can lead to sprouting and solanine, which is toxic in large amounts.
- Regular Inspection: Check stored potatoes periodically for any signs of rot or sprouting, and remove affected ones promptly.
Conclusion: The Rewards of Growing Potatoes
Understanding how to plant sprouted potatoes opens up a world of gardening and culinary possibilities. By choosing the right varieties, preparing your soil, and following maintenance protocols, you can enjoy a bountiful potato harvest. Whether you're growing them for family meals, canning, or sharing with friends, the self-satisfaction of growing your food cannot be overstated. So roll up your sleeves and enjoy the journey of cultivating your sprouted potatoes!
"The best time to plant a tree was twenty years ago. The second best time is now." – Chinese Proverb```
By Guest, Published on October 20th, 2024