Other
How to root rose cuttings in potatoes
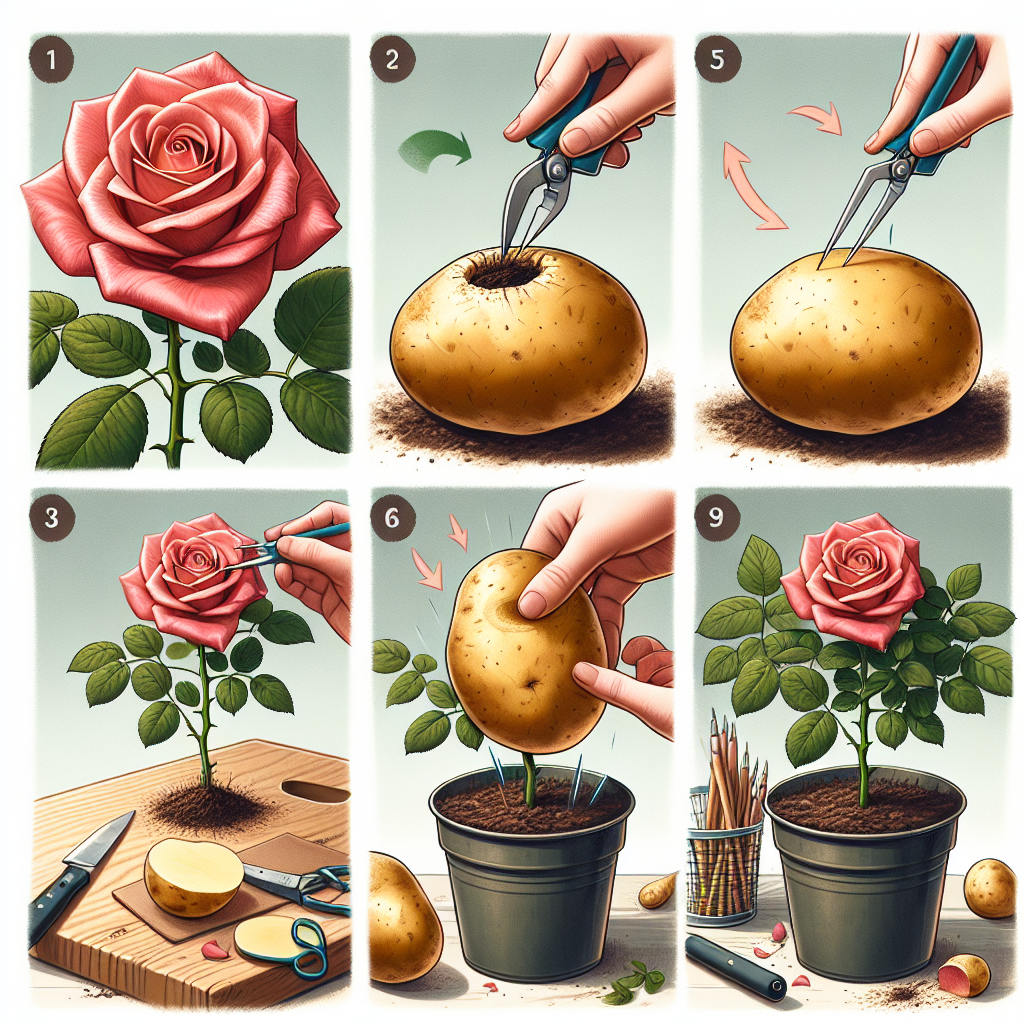
# How to Root Rose Cuttings in Potatoes: A Unique Gardening Technique Rooting rose cuttings is a rewarding endeavor that allows gardeners to propagate their favorite plants without the need for buying new ones. An unusual yet effective method involves using potatoes as a medium for rooting rose cuttings. This article explores **how to root rose cuttings in potatoes**, discussing the benefits, materials, step-by-step instructions, and care tips for the new plants. ## Understanding the Basics of Rose Propagation ### The Importance of Propagation Propagation is a critical part of gardening, allowing enthusiasts to create new plants from existing ones. This method not only saves money but also helps preserve specific varieties of plants that you may not be able to find in your local nursery. ### Choosing the Right Time for Propagation The best time for taking rose cuttings is during the growing season, typically in late spring to early summer. This is when the plant's sap flows vigorously, increasing the chances of successful rooting. ### Types of Rose Cuttings Before we dive into the method of using potatoes for rooting, it's essential to understand the different types of cuttings you can take from a rose plant: 1. **Stem Cuttings**: The most common type, taken from healthy stems. 2. **Leaf Bud Cuttings**: Involves taking sections of a stem with a leaf still attached. 3. **Root Cuttings**: Taken from the roots of established plants, though less common for roses. ## Why Use Potatoes for Rooting? ### Benefits of Using Potatoes The unique technique of embedding rose cuttings in potatoes offers several advantages: - **Moisture Retention**: Potatoes hold moisture, providing a stable environment for cuttings. - **Nutrient-Rich**: Potatoes contain essential nutrients that can help promote root development. - **Stability**: The structure of a potato helps support the delicate cuttings. ## Materials You Will Need Before starting the process, gather the following materials: - Healthy **rose stems** (6-8 inches long) - Firm, fresh **potatoes** (ideally organic) - **Sterilized knife or pruning shears** - **Rooting hormone** (optional but recommended) - **Potting soil** or **coconut coir** (if you wish to transition later) - Plastic bags or a propagation dome (to maintain humidity) - Small pots or trays (for final planting) ## Step-by-Step Guide to Rooting Rose Cuttings in Potatoes ### Step 1: Prepare the Rose Cuttings 1. **Take the Cuttings**: Choose a healthy rose bush and cut a 6-8 inch stem just below a node. It's essential that the stem is at least a year old. 2. **Remove Leaves**: Strip off any leaves from the lower half of the cutting to prevent rot. 3. **Use Rooting Hormone**: Dip the cut end into rooting hormone to improve the chances of successful rooting. ### Step 2: Prepare the Potatoes 1. **Choose the Right Potatoes**: Select firm, healthy potatoes without any bruises or sprouts. 2. **Create a Hole**: Use a sterilized knife to create a hole in the potato's center, about 2-3 inches deep. 3. **Insert the Cuttings**: Place the prepared rose cutting upright into the hole you've made in the potato. ### Step 3: Planting the Potatoes 1. **Place in a Container**: Arrange the potato with the cutting in a small pot or tray filled with potting soil or coconut coir. Ensure that the potato is partially buried to stabilize it. 2. **Water Moderately**: Sprinkle some water to keep the soil moist but not soggy. Ensure the potatoes are well-drained. 3. **Cover for Humidity**: Cover the setup with a plastic bag or a propagation dome to maintain high humidity, which is vital for rooting. ### Step 4: Providing Proper Care 1. **Location**: Place the pot in a warm, indirect sunlight location, avoiding harsh sunlight that can scorch the cuttings. 2. **Check Regularly**: Monitor moisture levels in both the potato and the surrounding soil. Water as needed to keep it moist. 3. **Watch for Growth**: After a few weeks, you should notice growth. This is a good sign that rooting is occurring. ## Transitioning from the Potato to Soil As the rose cuttings start to develop roots, typically in 4 to 6 weeks, you can transition them to soil: 1. **Prepare Containers**: Once roots are noticeable, prepare small pots with nutrient-rich potting soil. 2. **Carefully Remove**: Gently take the potato with the cuttings and place it into the new pot, ensuring new roots are intact. 3. **Water and Monitor**: Water the plants well and continue to monitor them for growth. ## Tips for Success ### Additional Tips for Rooting Rose Cuttings - **Select Healthy Plants**: Ensure that the source plant is healthy, disease-free, and suited for your climate. - **Avoid Roses with Pests**: Inspect for any pests before taking cuttings to ensure the new plants are free from bugs. - **Experiment with Different Varieties**: While this method works for most rose varieties, experimenting can yield interesting results. ### Common Mistakes to Avoid - **Too Much Water**: Over-watering can lead to rot; always keep the moisture level consistent. - **Too Much Sun**: Direct sunlight can harm the cuttings; use indirect light instead. - **Ignoring Root Development**: Be patient; not all cuttings root at the same pace. ## Conclusion Propagating roses using the technique of **how to root rose cuttings in potatoes** is a creative approach that can yield stunning results. By following the steps outlined above, you not only foster new rose plants but also experiment with a method that's both practical and easy. With time and care, your newly rooted cuttings will grow into beautiful plants, adding to your garden and bringing joy to your gardening experience. Whether you're an experienced gardener or a novice, this technique is worth trying. Happy gardening!By Guest, Published on August 18th, 2024