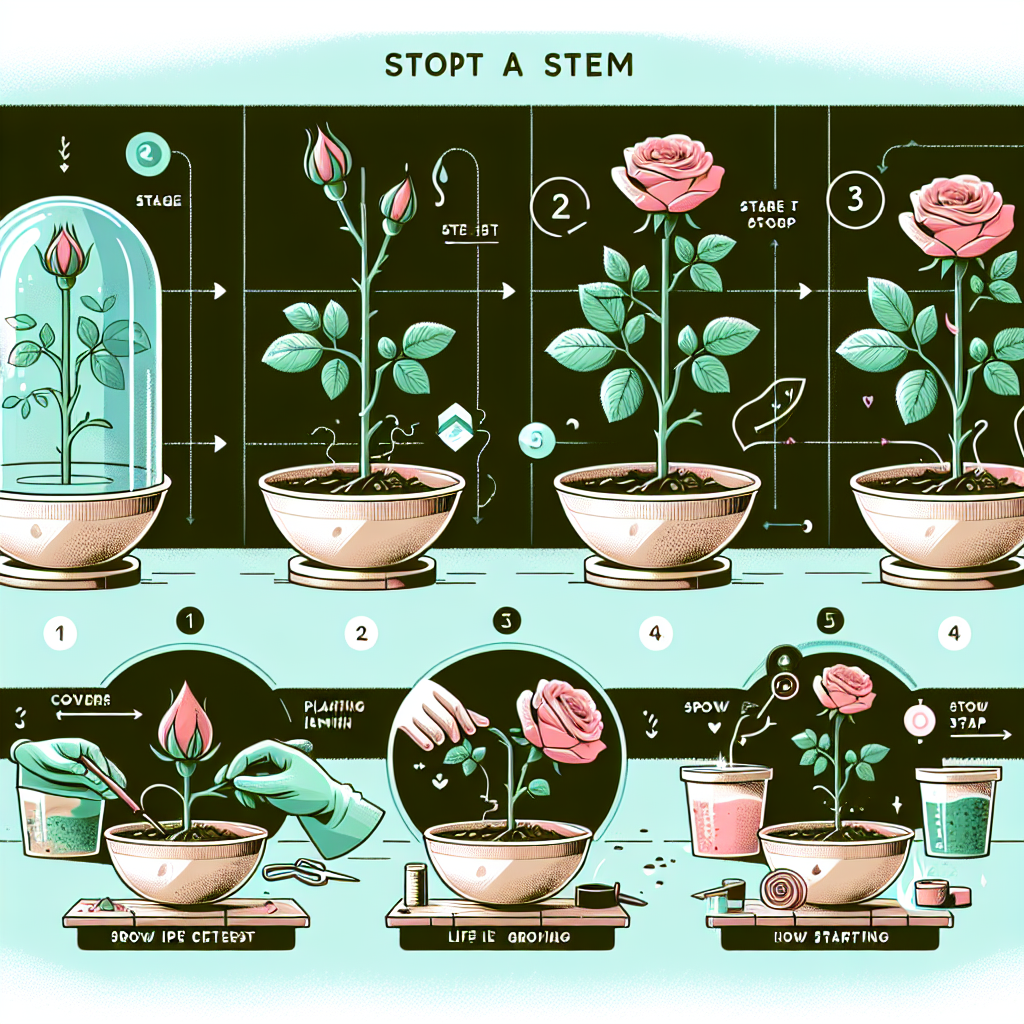
How to start a rose from a stem
How to Start a Rose from a Stem: A Comprehensive Guide
Growing roses at home can be an exceptionally rewarding experience. Not only do they add beauty and fragrance to your garden, but they also symbolize love and passion. If you have a favorite rose plant and want to propagate it, you might be wondering how to start a rose from a stem. In this guide, we’ll explore the steps involved in this process, ensuring you can create beautiful, blossoming roses from cuttings. Let's dive into the art of rose propagation!
Understanding Rose Propagation
Rose propagation can be done through various methods, but starting a rose from a stem is one of the most accessible and commonly practiced methods. It involves taking a stem cutting from an existing rose bush and nurturing it until it develops roots and grows into a new plant. To begin, understanding the right time and conditions for propagation is vital.
Best Time for Propagation
The best time to propagate roses from stem cuttings is during the growing season, typically in late spring or early summer. At this time, the sap is flowing, and the cuttings have the best chance of developing roots. However, semi-ripe cuttings can also be taken in early autumn.
Materials Needed
Before you proceed, it's essential to gather all the necessary materials:
- Healthy rose plant for cuttings
- Sharp, clean pruning shears or scissors
- Rooting hormone (optional but beneficial)
- Potting soil or seed starting mix
- Small pots or containers
- Plastic bag or plastic wrap
- Water
Choosing the Right Cutting
Selecting the right cutting is crucial for success. Here are some tips for identifying the ideal stem:
- Choose a healthy rose bush that displays vigorous growth.
- Look for stems that are about 6 to 8 inches long and have at least two sets of leaves.
- Avoid stems that are too woody or too soft; a semi-hardwood stem is preferable.
The Cutting Process
Now that you've chosen your cutting, follow these steps to take the cuttings effectively:
- Using your sharp pruning shears, cut the stem just below a leaf node at a 45-degree angle. This angle increases the surface area for rooting.
- Remove the lower leaves from the cutting, leaving just a few at the top to help the plant focus on root development.
- If using rooting hormone, dip the cut end of the stem into the hormone to encourage root growth.
Planting the Cutting
After preparing the cutting, it's time to plant it:
- Fill your small pot or container with moist potting soil. Make sure the soil is well-draining.
- Make a hole in the center of the soil with a pencil or your finger, and gently insert the cut end of the stem into the hole.
- Firmly press the soil around the stem to ensure it stands upright and has good contact with the soil.
Creating an Ideal Environment
For your rose cutting to thrive, it is essential to create a suitable environment. Here are a few tips:
- Water the soil lightly to keep it moist, but not soggy.
- Cover the pot with a plastic bag or plastic wrap to maintain humidity. Ensure some air can circulate to avoid mold growth.
- Place the pot in a warm, bright location, but avoid direct sunlight, as it may scorch the cutting.
Monitoring Growth
As your cutting settles into its new environment, monitoring its growth is vital to ensure successful propagation. Here are some key aspects to watch for:
- Check the soil moisture regularly; keep it consistently moist.
- Remove the plastic cover periodically to allow air circulation and prevent mold.
- Look for new growth; this is a positive sign that your cutting is developing roots.
Transplanting New Roses
Once your rose cutting has established roots—typically within 4 to 8 weeks—it’s time to transplant it into a larger pot or into your garden. Follow these steps:
- Prepare the new planting area or larger pot by ensuring it contains well-draining soil.
- Gently remove the rooted cutting from its pot, taking care not to disturb the roots too much.
- Plant the cutting at the same soil depth it was in the original pot.
- Water well after transplanting to help settle the soil.
Caring for your New Roses
After transplanting, proper care is essential to ensure your new rose plants flourish.
- Water the plants deeply but less frequently, allowing the top inch of soil to dry out between waterings.
- Feed your roses with a balanced fertilizer every 4-6 weeks during the growing season.
- Prune dead or wilted blooms to encourage new growth.
- Monitor for pests and diseases, treating them promptly if needed.
Common Challenges and Solutions
While propagating roses from cuttings can be relatively straightforward, you might encounter some challenges. Below are common problems and their solutions:
| Challenge | Solution |
|---|---|
| Cutting wilting | Check moisture levels and ensure you're misting enough. |
| Mold development | Ventilate the covered pot more frequently, and reduce moisture. |
| No root growth | Check if you’ve used a cutting too young or old; try again with optimal timing. |
| Inconsistent growth | Ensure consistent watering and good light conditions are met. |
Conclusion
Propagating roses from a stem can be a gratifying hobby that enhances the beauty of your garden while allowing for the creation of new, cherished plants. By following the steps outlined in this guide and remaining patient during the rooting process, you can enjoy the experience of nurturing a rose from a simple cutting to a flourishing bush. Remember that practice makes perfect; don’t be discouraged by setbacks and enjoy the journey of rose gardening!
```By Guest, Published on August 21st, 2024