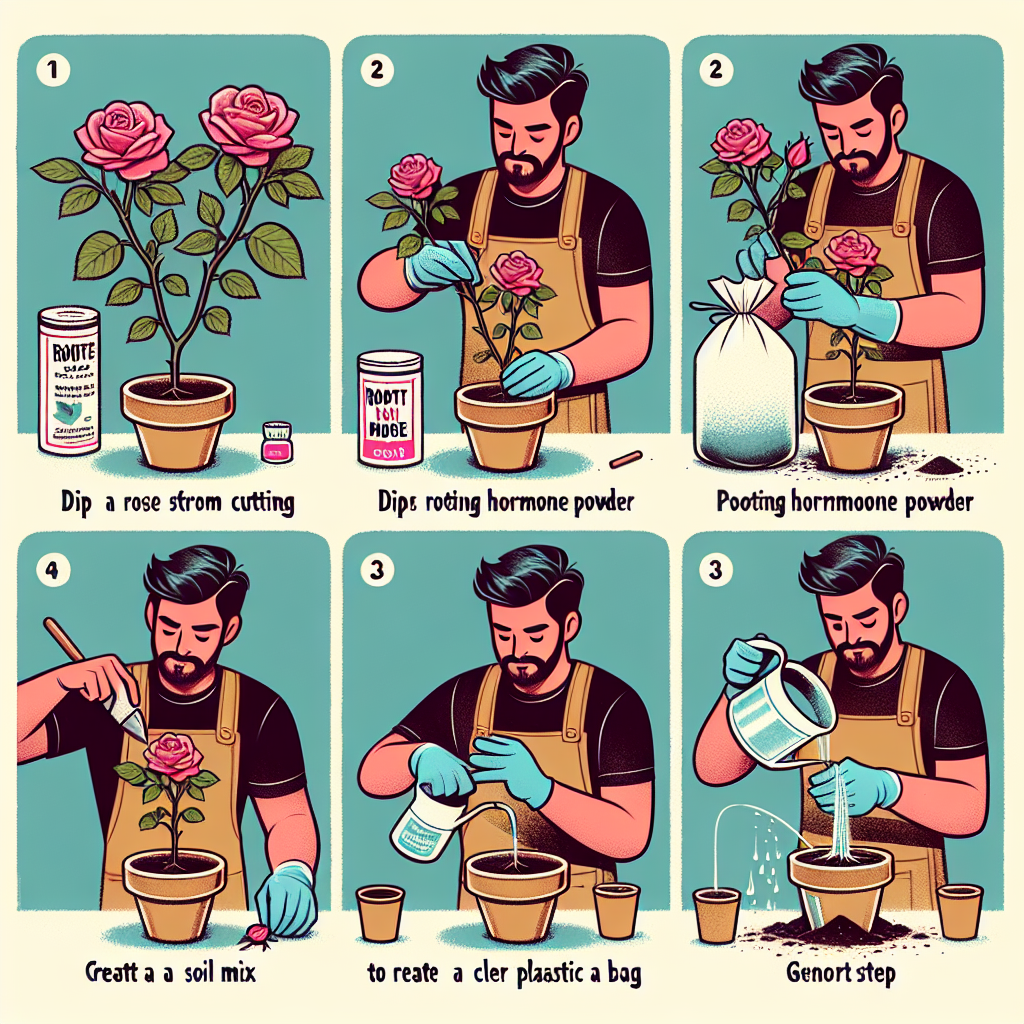
How to start roses from cuttings
How to Start Roses from Cuttings: A Beginner's Guide
Growing roses from cuttings can be an incredibly rewarding experience for any gardening enthusiast. This method allows you to propagate your favorite rose varieties, ensuring your garden is lush and beautiful while saving money on new plants. In this guide, we will explore various techniques, essential tools, and tips to help you successfully start roses from cuttings.
Understanding Rose Cuttings
Roses can be propagated from different types of cuttings, each offering varying degrees of success. The two primary types are:
- Softwood Cuttings: Taken from new growth during spring and early summer, these cuttings are flexible and have not yet become woody.
- Hardwood Cuttings: Collected in late fall or winter while the plant is dormant, these cuttings are more rigid and provide a strong foundation for root development.
Choosing the right type of cutting depends on the time of year and your specific rose variety. Softwood cuttings are generally easier for beginners, while hardwood cuttings require more experience but can still yield excellent results.
Essential Tools for Taking Cuttings
Before you start, make sure you have the right tools on hand. Adequate preparation is key to successful propagation.
- Sharp Pruners: A clean cut reduces the risk of disease and supports better healing.
- Rooting Hormone: This can boost your cutting's hormone levels, significantly enhancing root growth.
- Containers: Use pots or trays that allow for good drainage.
- Mixing Medium: A combination of peat moss, perlite, and sand is perfect to improve aeration and drainage.
- Watering Can or Spray Bottle: Keep the cuttings moist, preventing them from drying out.
Steps to Start Roses from Cuttings
Now that you're equipped with the necessary tools, let’s dive into the step-by-step process of propagating roses from cuttings.
1. Selecting the Right Time
The ideal time to take cuttings is during the growing season. For softwood cuttings, late spring or early summer is perfect, while for hardwood cuttings, aim for late fall or early winter.
2. Preparing the Cuttings
- Choose healthy stems from the parent plant that are free from diseases or pests.
- Using your sharp pruners, cut a 6-8 inch section from the stem, making the cut just below a node (the bump where leaves emerge).
- Remove any leaves on the lower half of the cutting to prevent moisture loss and focus energy on root development.
- If you are using softwood cuttings, consider taking multiple cuttings to increase your chances of success.
3. Applying Rooting Hormone
To enhance root development, dip the end of the cutting into rooting hormone. This step is optional but highly recommended, particularly for hardwood cuttings, as it can drastically improve their chances of survival.
4. Planting the Cuttings
Fill your containers with the prepared mixing medium. Make small holes in the medium with a pencil or your finger, then gently insert the cuttings, ensuring that at least one node is buried in the soil. This is crucial as roots will emerge from these nodes.
5. Watering the Cuttings
After planting, water the cuttings well to settle the soil around them. Ensure the medium remains damp but not soggy, which can lead to rot.
6. Creating a Humid Environment
Cover the containers with plastic bags or a clear plastic dome to maintain humidity levels. This simulated greenhouse effect helps the cuttings retain moisture. It’s important to open the cover periodically to let in fresh air and prevent mold growth.
7. Providing Proper Light Conditions
Place the containers in a location with bright, indirect sunlight. Direct sunlight can scorch the cuttings, detrimental to root development. If natural light is limited, consider utilizing grow lights.
8. Monitoring Growth
Check your cuttings regularly for moisture, and ensure that the medium stays damp. After several weeks, you can gently tug on the cuttings to see if resistance is felt, indicating that roots are forming.
9. Transplanting the Cuttings
Once your cuttings have developed a healthy root system, it’s time to transplant them. This usually occurs within 4 to 8 weeks for softwood cuttings and can take a bit longer for hardwood cuttings.
- Carefully remove the rooted cuttings from their containers, ensuring to retain as much soil as possible around the roots.
- Choose a garden bed or a larger pot with well-draining soil and space them about 1-2 feet apart, depending on the variety.
- Water the transplants thoroughly and keep an eye on them as they adapt to their new environment.
Common Issues and Solutions
While propagating roses from cuttings can be straightforward, issues may arise. Here are some common concerns and their solutions:
- Mold Growth: Ensure adequate air circulation. Remove covers to allow for airflow. If mold forms, gently wipe it off.
- Cuttings Rotting: Avoid over-watering. Ensure good drainage and use sterile soil.
- Wilting Cuttings: This could indicate moisture loss. Mist them lightly or increase humidity.
Conclusion
Understanding how to start roses from cuttings gives you the ability to create a vibrant garden filled with your favorite floral varieties. By following the steps outlined in this guide and being patient during the process, you can enjoy the beauty of roses in your own backyard. Remember, gardening is as much about the journey as it is about the destination, so take pleasure in watching your efforts blossom into a stunning array of roses.
Final Thoughts and Tips
As you embark on your journey of starting roses from cuttings, keep these final tips in mind:
- Be patient! Growing roses from cuttings can take time, but it’s worth the wait.
- Experiment with different rose varieties to see what thrives best in your environment.
- Share your experiences and results with fellow gardeners—it’s a great way to learn and improve.
Happy gardening!
By Guest, Published on August 10th, 2024