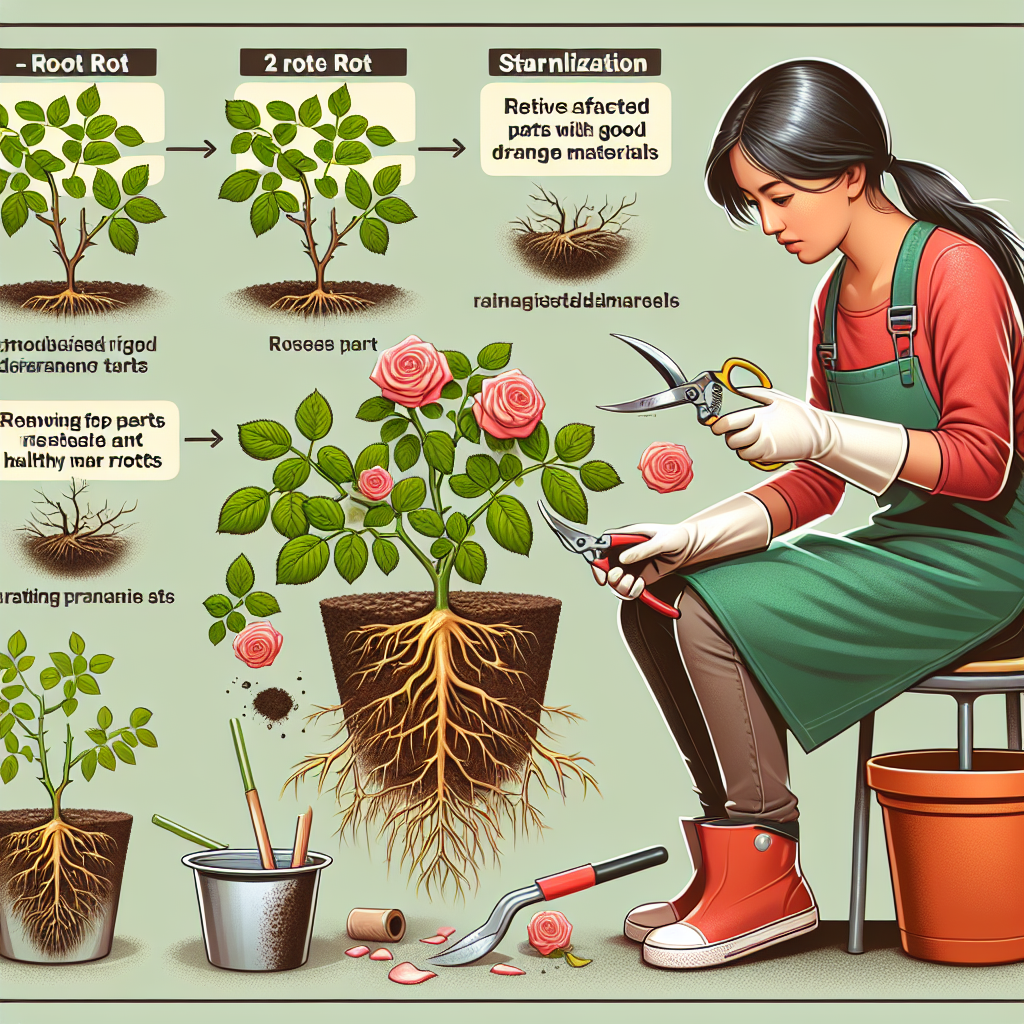
How to treat root rot in roses
Understanding Root Rot in Roses
Roses are one of the most beloved and popular flowers in gardens around the world. However, they can be susceptible to a number of diseases, with **root rot** being one of the most notorious. This condition can quickly turn a vibrant rose bush into a sad, wilting plant if not addressed promptly and properly.
Root rot occurs when the roots of the rose begin to decay due to excessive moisture, poor drainage, or infection from harmful fungi or bacteria. Recognizing the signs of **root rot** early is essential for effective treatment and recovery. In this article, we will explore how to treat root rot in roses, including prevention strategies, signs to watch for, and effective treatment methods.
Signs of Root Rot in Roses
Before we dive into treatment, it's important to identify the symptoms that indicate your rose plants may be suffering from root rot. Early detection is key to saving your plants.
- Wilting: Despite adequate watering, your roses may appear droopy.
- Yellowing Leaves: Leaves may turn yellow and drop prematurely.
- Stunted Growth: The plant's growth may become stunted or slow down significantly.
- Black or Brown Roots: A visual inspection of the roots may reveal black, mushy roots.
- Foul Odor: In some cases, a distinct foul smell may emanate from the soil, indicating decaying matter.
Preventive Measures to Avoid Root Rot
Prevention is always better than treatment. By adopting several best practices, you can significantly reduce the risk of root rot affecting your roses. Here are some effective preventive measures:
- Choose the Right Location: Plant your roses in a location that provides good airflow and sunlight. A sunny spot helps the soil dry more quickly after rainfall or watering.
- Improve Soil Drainage: Amend your planting soil with organic matter or compost to improve drainage. Well-draining soil is crucial in preventing root rot.
- Water Wisely: Avoid over-watering your roses. Allow the top inch of soil to dry out before watering again. Consider using a moisture meter for precise measurements.
- Use Proper Containers: If planting in pots, ensure they have drainage holes to prevent excess water accumulation. Choose pots made of breathable materials.
- Space Plants Adequately: Give each rose enough space to ensure proper airflow and prevent overcrowding, which can retain moisture.
Improving Soil Conditions
Soil health plays a significant role in the well-being of your rose plants. Consider conducting a soil test to understand its pH and nutrient content. Based on the results, you may need to adjust the soil conditions to promote healthy root growth.
How to Treat Root Rot in Roses
If you’ve identified root rot in your roses, taking immediate action is crucial. Here’s a step-by-step guide on how to treat root rot in roses:
Step 1: Assess the Damage
Before getting your hands dirty, evaluate the extent of the damage. Carefully dig around the plant, gently removing the soil to expose the roots. Examine them closely for signs of decay.
Step 2: Trim Affected Roots
Using sterilized pruning shears, remove the black, mushy roots. Ensure you cut back to healthy, white roots. Discard the cuttings in a sealed bag to prevent spreading pathogens to healthy plants.
Step 3: Improve Drainage
If the surrounding soil lacks drainage, consider the following options:
- Add sand or perlite to help improve aeration.
- Elevate your rose bed by mounding soil around the base.
- Create drainage ditches to direct excess water away from the plants.
Step 4: Treat the Soil
Once you've addressed drainage issues, it’s time to treat the remaining soil. Options include:
- Fungicides: Apply a recommended fungicide to the soil to combat any lingering fungal pathogens.
- Beneficial Microbes: Use biological fungicides containing beneficial microbes that outcompete harmful fungi.
- Neem Oil: This natural oil can help treat fungal infections and protect the remaining healthy roots.
Step 5: Replant or Reinforce
If the damage is extensive, consider replanting the rose in a new location or a fresh pot with new soil. Always choose high-quality soil that drains well.
Step 6: Adjust Watering Practices
After treatment, continue to monitor your watering practices carefully. Over-watering can make the issue worse. Aim for a careful balance; roses thrive on consistent moisture but cannot tolerate sitting in water.
Post-Treatment Care for Roses
After implementing the treatments, it's crucial to keep a close eye on your roses’ recovery. Here are some key aspects of post-treatment care:
- Mulching: Apply a layer of organic mulch around the base of the plant to help retain moisture without waterlogging the roots.
- Monitor for New Symptoms: Keep an eye out for any new signs of distress and be proactive in addressing them.
- Fertilization: A gentle feeding program with a balanced fertilizer can help promote healthy growth. However, avoid over-fertilizing, as this can further stress the plants.
- Regular Pruning: Regularly prune your roses to keep them healthy and encourage good airflow. Remove any dead or diseased wood.
Conclusion
Dealing with **root rot** can be a daunting experience for rose enthusiasts, but with proactive measures and timely interventions, hope remains for saving your beloved plants. By employing proper care techniques, including effective watering practices, improved drainage, and soil treatments, you can foster an environment that supports healthy rose root systems and vibrant blooms.
Remember that prevention is the best strategy against root rot. By maintaining good gardening practices from the start, you significantly reduce the chances of encountering this issue in the future. Happy gardening, and may your roses thrive in health and beauty!
By Guest, Published on August 19th, 2024