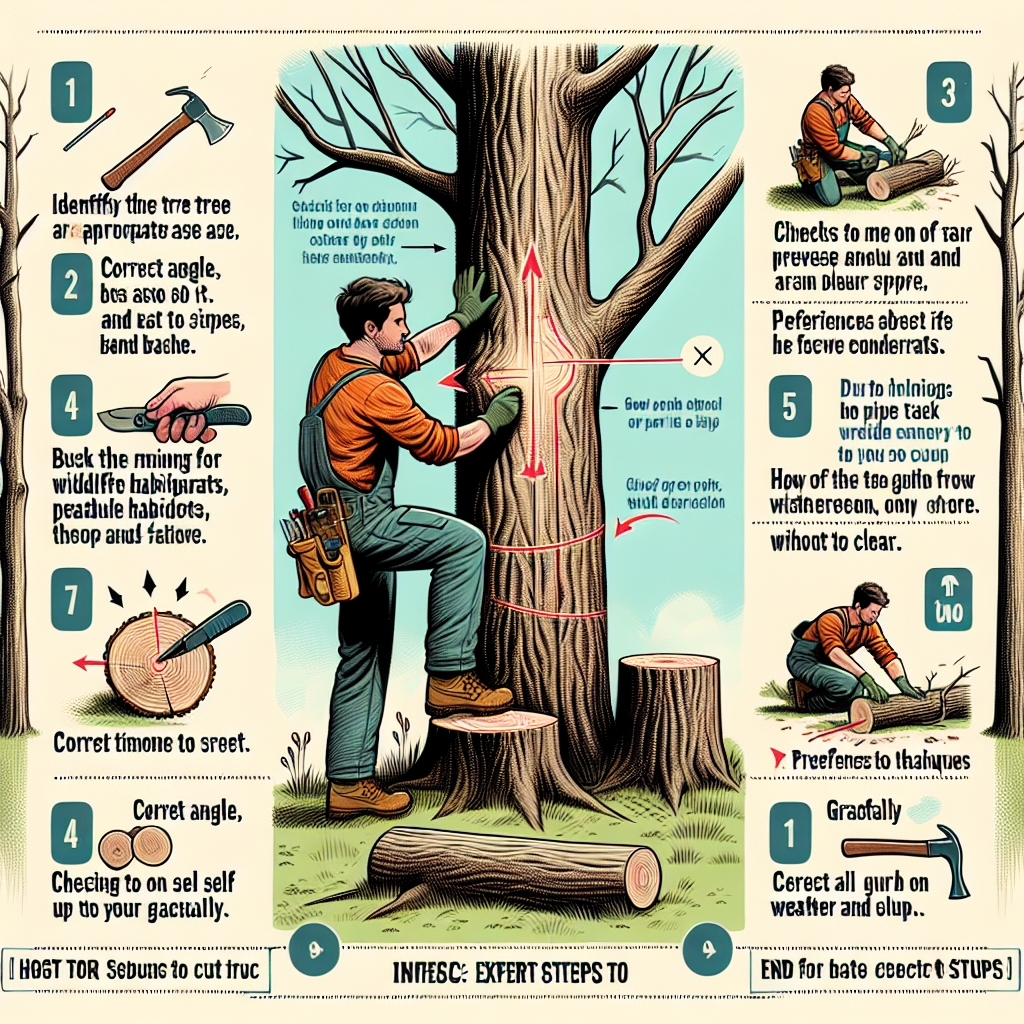
Diagram of how to cut down a tree
Understanding the Basics of Tree Cutting
Tree cutting, often referred to as tree felling, is an essential skill that can be beneficial for various reasons—whether it’s for maintenance, safety, or timber harvesting. However, it is crucial to approach this task with caution and respect for the environment. Before undertaking such a task, one should understand the techniques involved and the necessary safety precautions. This article will discuss the essential steps, safety measures, and best practices for cutting down a tree, supported by a diagram of how to cut down a tree for clarity.
Why Cut Down a Tree?
There are several reasons why an individual or organization may choose to cut down a tree:
- Safety Hazards: Trees that are dead or dying can pose a risk to nearby structures, roadways, and people.
- Space Requirements: Expanding homes or commercial properties may require additional space, prompting the removal of certain trees.
- Health of the Ecosystem: Sometimes, removing a tree can promote healthier growth of surrounding trees and plants.
- Timber Harvesting: Trees are often cut down to obtain timber for construction or other purposes.
Preparatory Steps Before Cutting a Tree
Planning is critical when it comes to tree cutting. Here is a guide on the preparatory steps you should take:
- Assess the Tree: Evaluate the tree's health and determine the direction of its lean. Inspect for decay or damage.
- Understand Local Regulations: Familiarize yourself with any local laws or regulations regarding tree felling.
- Gather Necessary Tools: Ensure you have the right tools, such as a chainsaw, safety gear, rope, and wedges.
- Choose the Right Time: Avoid cutting down trees during wet conditions or when the ground is soft; this can lead to accidents.
Safety Precautions
Safety should be your top priority when cutting down a tree. Here are some vital safety tips to keep in mind:
- Wear Protective Gear: Safety goggles, gloves, boots, and a hard hat are essential to protect yourself from debris.
- Work with a Partner: Having someone nearby can provide assistance in case of an emergency.
- Clear the Area: Ensure that the area around the tree is clear of obstacles and bystanders.
- Check for Power Lines: Always identify and maintain a safe distance from any overhead power lines.
- Have an Evacuation Plan: Determine an escape route in case the tree falls unexpectedly.
The Process of Cutting Down a Tree
The actual process of cutting down a tree can be divided into various stages. Here’s a breakdown of the steps involved:
1. Determine the Fall Direction
Before you start cutting, ascertain the direction in which you want the tree to fall. This should be away from structures, power lines, or people. It is essential to consider the tree's lean since it often influences the direction of the fall.
2. Make the Notch Cut
The first cut involves creating a notch on the side of the tree facing the desired direction of the fall. This notch typically consists of two cuts:
- Top Cut: Make a downward cut at a 45-degree angle to a depth of about one-third of the tree's diameter.
- Bottom Cut: Make a horizontal cut that meets the endpoint of the top cut, creating a triangular notch.
3. Felling Cut
Once the notch is complete, proceed to make the felling cut on the opposite side of the tree. This is typically a horizontal cut that should be slightly higher than the bottom of the notch. Leave a hinge of uncut wood to control the tree's fall.
4. Retreat to Safety
As the tree begins to fall, immediately retreat to your predetermined escape route. Stay attentive and be aware of your surroundings.
Diagram of How to Cut Down a Tree
“A well-thought-out plan, clear communication, and safety precautions are the keys to a successful and safe tree-cutting experience.”
| Step | Description | Diagram |
|---|---|---|
| 1 | Assess the tree and select the fall direction | Diagram 1: Assess the tree angle |
| 2 | Create the notch | Diagram 2: Notch cutting |
| 3 | Make the felling cut | Diagram 3: Felling cut technique |
| 4 | Retreat to safety | Diagram 4: Safe retreat area |
Post-Cutting Steps
Once the tree has been successfully cut down, it’s essential to follow up with some post-cutting tasks:
- Remove the Stump: Depending on your plans for the area, you may want to cut off the stump or grind it down.
- Clean Up: Remove branches, leaves, and other debris from the work area to maintain safety.
- Consider Replanting: If you’ve cut down a tree, consider planting a new sapling in its place.
Conclusion
Cutting down a tree can be a rewarding yet challenging task. With adequate knowledge, planning, and safety precautions, you can manage this process effectively. Remember, understanding the steps and techniques involved, along with the importance of safety, are paramount. Always refer to guides, such as a diagram of how to cut down a tree, as a visual aid to help you grasp the intricate details involved. Whether you are maintaining your property or embarking on a larger project, approach tree cutting with respect and responsibility for your environment.
By Guest, Published on August 27th, 2024